Digital Compositing
Digital Compositing
Nuke
Master the art of creating true movie magic!
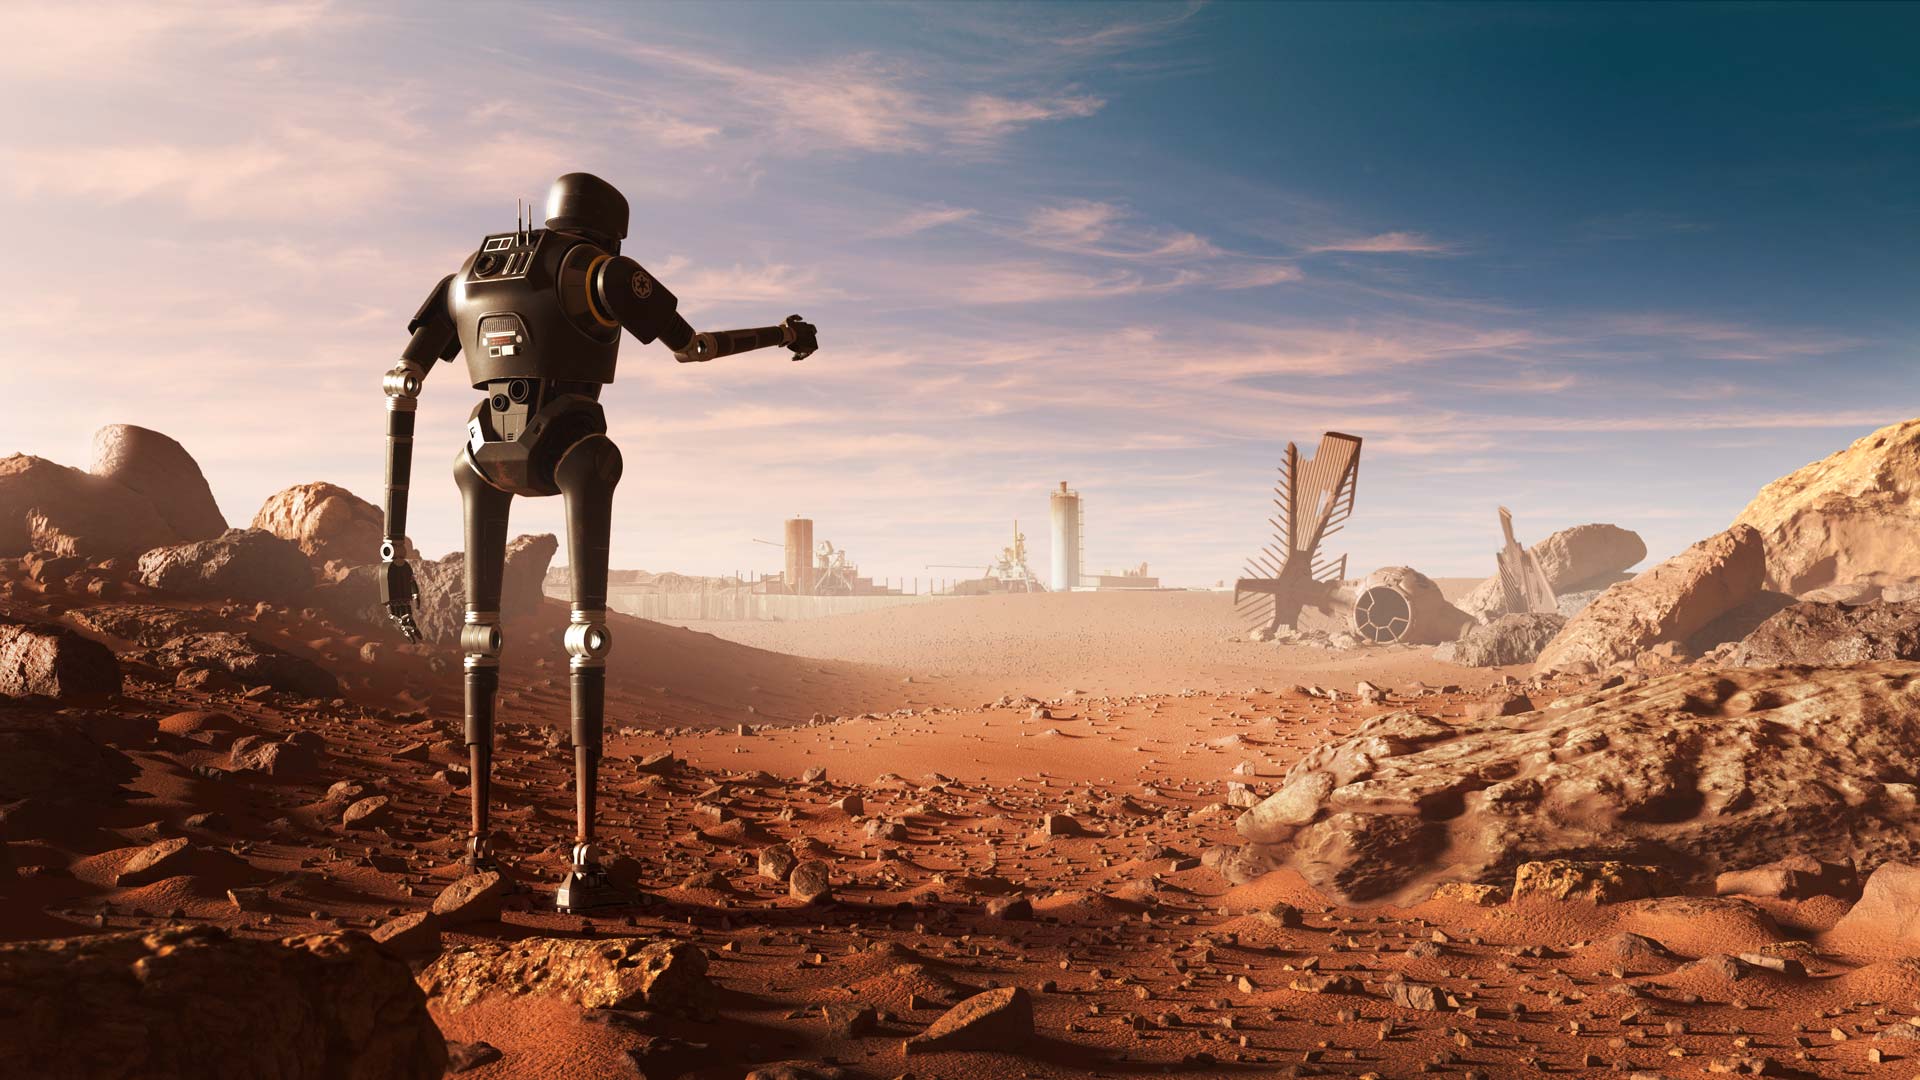
What makes movies like Star Wars, Matrix, and The Lord of the Rings so special? The answer is special effects, miniatures, explosions, props, digital characters, surreal scenes.
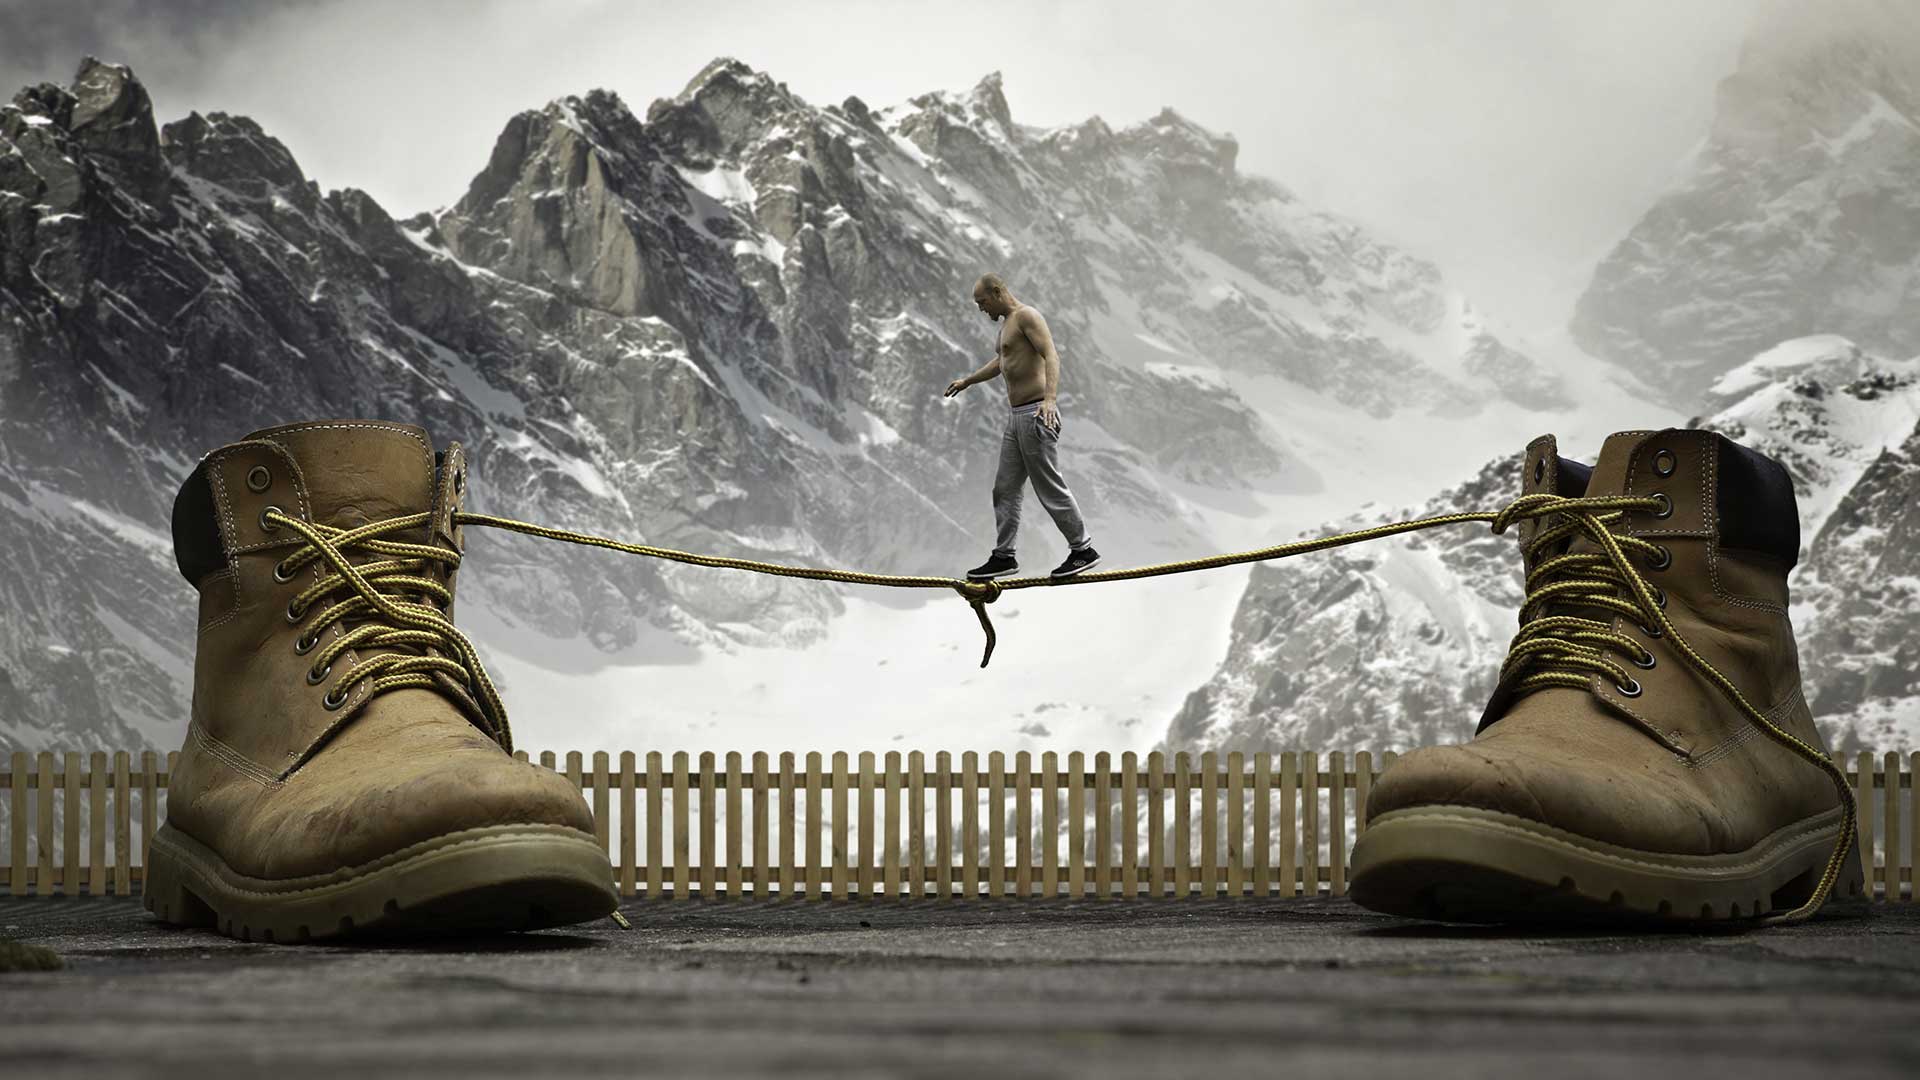
However, any one of these elements alone is not sufficient. Combining various elements (e.g., miniatures and actors) is crucial for creating an illusion of reality in the eyes of the spectators. Like when an actor standing before a green screen gets to travel to a galaxy far far away on the movie screen thanks to the astonishing digital environment. The very process of matching these elements is called compositing, which is the staple of this course.
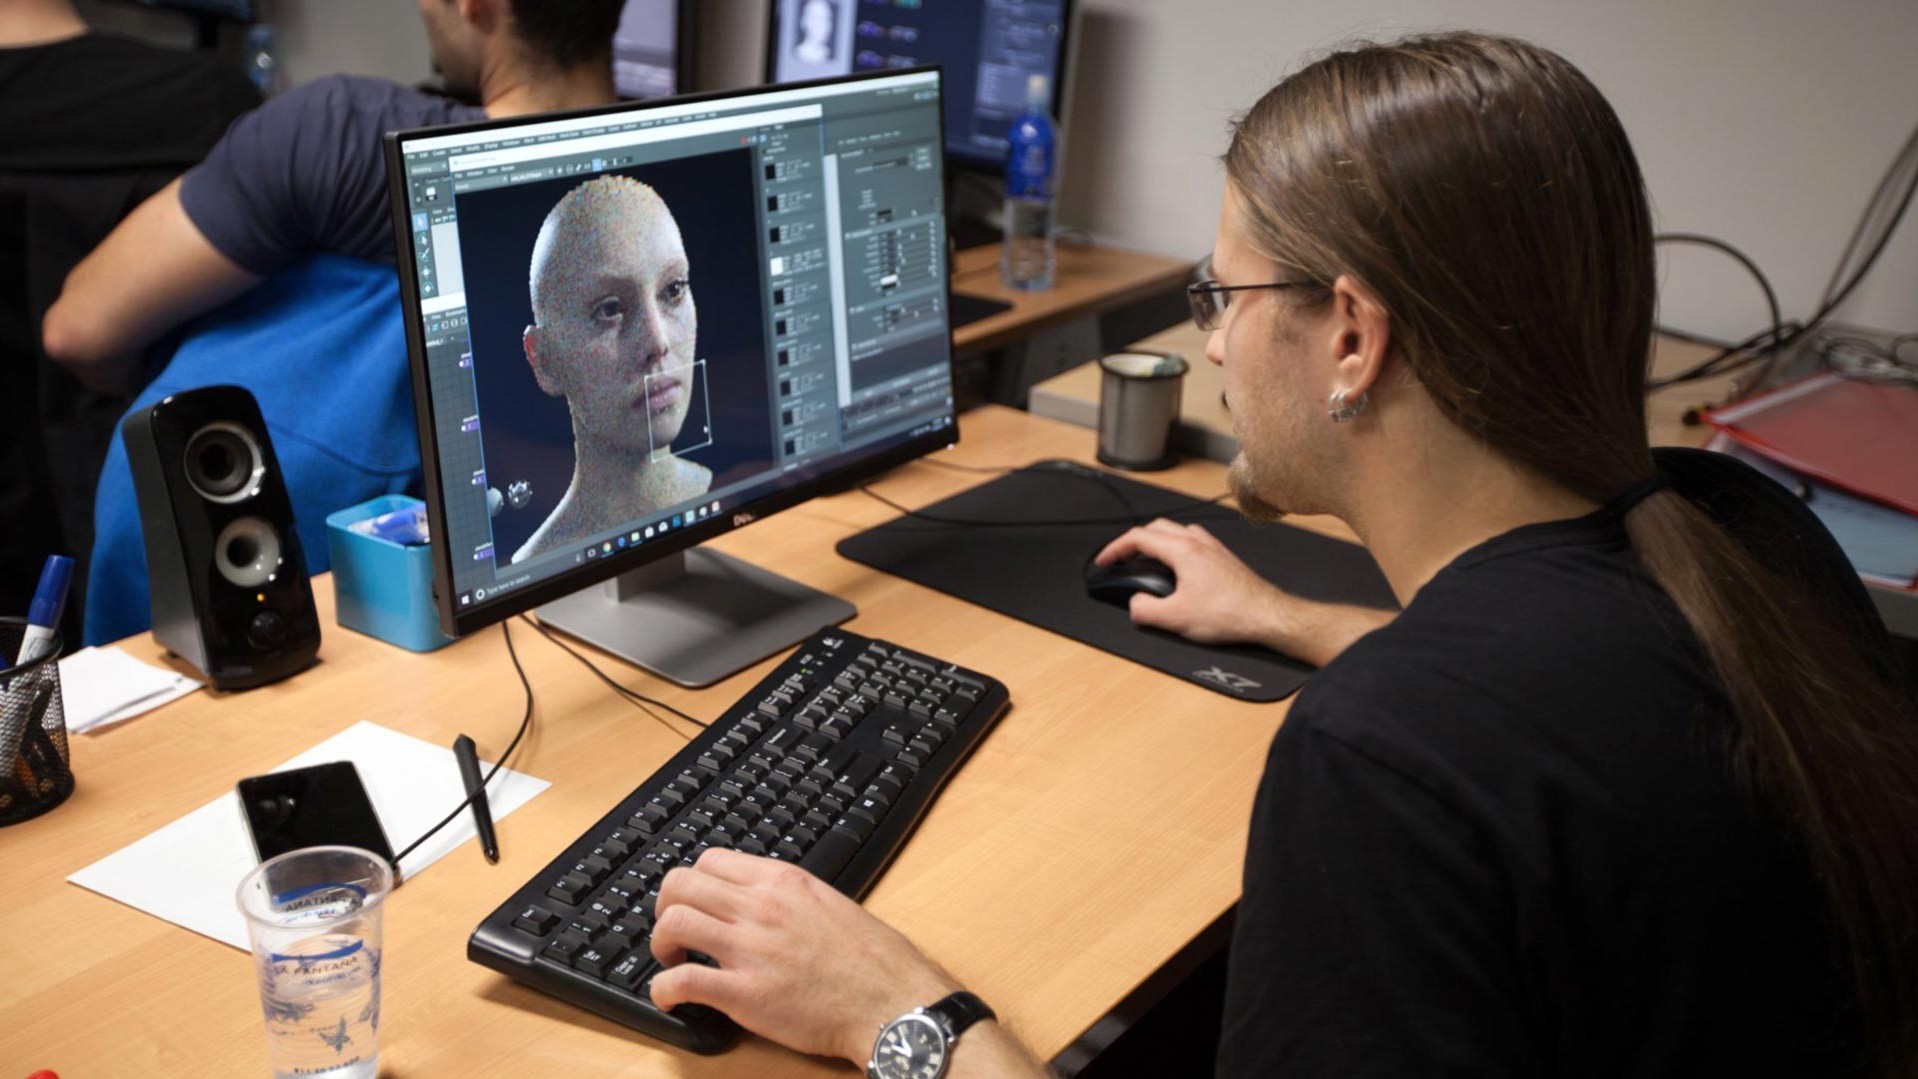
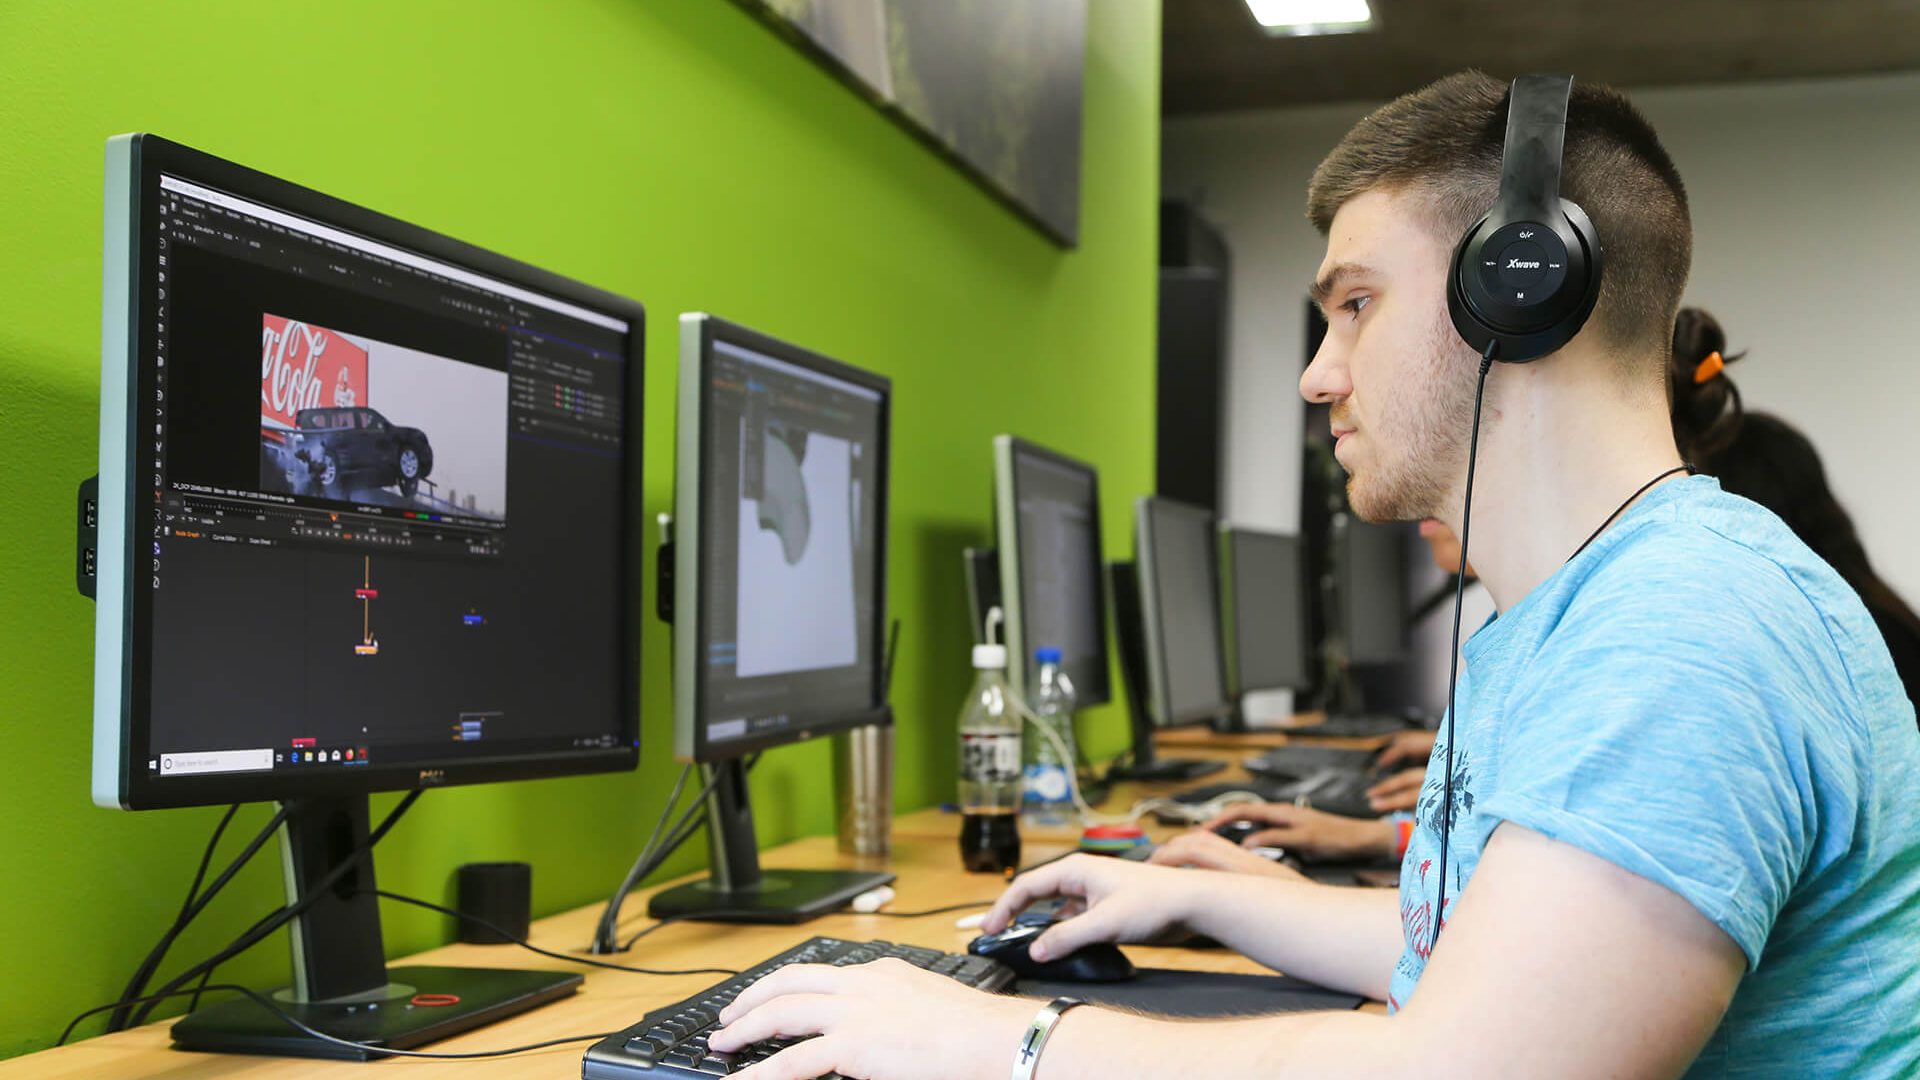
In 7 weeks, students will understand the basic principles of digital compositing. They will learn to match real-life images against a green screen with digital elements, create color corrections, and do stereo compositing while working with props, tapes, and digital material in a production environment. All techniques will be explained using real production examples. The curriculum includes practical work for all students.
As the course progresses, the assignments will become more and more similar to a real-life production environment that includes simulation of various problems, deadlines, and demands from the client/ superiors.
Introduction to digital compositing
• Introduction, history, optical compositing, basics of film, digital compositing with examples (Star Wars, Blade Runner, Terminator, Titanic…)
Components of a digital image
• Digital and analogue signals, digitalization, basic components of an image, pixel, bit depth, resolution, characteristics of images from film and digital cameras, HDR format, Gamut, Color space
Light and camera I
• Basics of lights, movement of light, reflection, refraction, light sources, shadows, light temperature, white balance. Pinhole camera, visibility angle, perspective, explanation of aperture, depth of field, ISO sensitivity – all with practical examples
Light and camera II
• Filming angles, creative use of light, analyzing the light in various examples, recognizing types of light for easier matching. Camera movements, basic division and terminology. METADATA, how everything helps.
• Practical examples – the more the better.
Nuke basics
• Interface, navigation, controls, nodes, loading files. Simple compositing with two overlapping images. (Parallel with examples from Photoshop, so as to display the parallels between Nuke and Ps. Simple key)
• Exercise
Input devices
• Formats, analogue, digital, PAL, NTSC, HD, RED FPS, aspect ratio, compressing signals, compressing data, lossless and lossy compressions, file formats BMP, TGA, PNG, JPG, MPEG, MOV, DPX, EXR. Advantages and disadvantages, format conversion
All about color
• Theory of color, examples of photographs and various works of art
• Color correction in Nuke, showing what each slider does, explaining on a histogram what is happening with a signal
• Secondary color corrections. Examples from production
• Exercise – color corrections, on a given example (a homework assignment is also given)
Merge operators
• Operations between two inputs. Plus, minus, over, min, max, screen, overlay… To be explained mathematically. Premultiply and unpremultiply (To be demonstrated through a simple example and then through an example from production)
• Exercise
Filters, interpolation, transformation
• Blur, defocus, median, edge blur, erode, sharpen, soften, zblur, motion blur, emboss, god rays…
• Transformations: translate, corner pin, reformat, crop
• Interpolation: cubic, nearest, mitchel… (To be demonstrated through examples including several examples from production)
• Exercise
Animation, working with keys
• Roto, working with masks. Principles of animation, timing, spacing (Roto to be demonstrated through a simple example)
• 2D tracking, matchmove, stabilization. Example: sky replacement. Planar tracker (to be demonstrated through an example)
• Spline warp, grid warp, morphing
• Exercise
Compositing CG elements I
• Pass compositing. Working with channels. Integration with real elements, reference stand in, light wrapping, shadows, standardization of color, spill suppression, atmospheric effects, camera characteristics, size and perspective, focus and defocus (bokeh), motion blur, lens flare…
• Exercise: demonstrations through a simple example and then through an example from production
Compositing CG elements II
• Continuation
• Exercise
Visual qualities of an image and the perception of the eye
• Light and shadow
• Persistence of vision
Linear workflow
• Nonlinear Color Encoding (logarithmic format) (Examples: The Other Guys (film): how to render, how to set LUT, how to finalize)
More complicated key, keylight, primatte and IBK combinations I
• Custom despill, hue correct, smoothing edges, light wrap
• Grain, adding match grain.
• Exercise
More complicated key, keylight, primatte and IBK combinations II
• Continuation, key and key roto combined
• Exercise
3D space in Nuke
• 3D space, navigation, controls, nodes
• Camera tracker in Nuke and adding a track from another program (Maya)
• Projections, removing unwanted objects (Best example: removing unwanted objects in The Other Guys – scene in a bar)
• Exercise
Stereo compositing
• 3D space (Examples from Shark Night)
• Exercise
Quality and efficiency
• Minimizing data loss, Internal Software Accuracy
• Efficiency (Consolidating Operations, Region of Interest, Networked Environment, Disk Usage, proxy)
(Examples of an efficient Nuke workflow)
Organization of workflow
• Structure, working with files, working logically (gradually)
Working in pipeline surroundings and communicating with other VFX departments
• Demonstrating through an example the organization of production between the CG and comp sectors
(Shark Night may be used as an example)
• Exercise: group exercise Compositing and Light/ render departments
Analyzing workflow through examples from production
• Several examples may be taken from prior lectures and given now in full
(Interactive lecture, Q&A, group analyses)
Automation of the comp process through Python and the creation of a gizmo
• One simple example, gizmo for passes, from The Other Guys
(Analysis: automatic comp, output gizmo…)
• Exercise: Python exercises
Final exercise. Comp frame that contains CG, green screen, practical
(A concrete example may be taken from Crater production)
Independent exercise
Upon completion of the course students will receive the Crater Training Center Certificate.
 Nikola Vučenović
Compositing supervisor @ Crater Studio
A filmmaker and VFX artist, Nikola is a true master of the craft who uses technical expertise in visual effects to weave stories and build worlds. As a passionate innovator, he enjoys exploring different methods to achieve extraordinary results. He is religiously following all the trends and developments in the industry. He is always the first one to discover and use new technologies to improve storytelling and blur the lines between fantasy and reality.
 Matija Koraksić
Senior Digital Compositing Artist @ Crater Studio
Matija is an experienced artist who mastered the craft of composing many years ago in Crater Training Center. In Crater, he has had the opportunity to participate in an enviable number of exciting projects. He has studied literature but found his place in post-production as he believes that this profession sublimates most of his affinities. For him, compositing provides a perfect workflow dynamic with minimal repetition and monotony. Read more about Matija’s experience and career path in this interview.
 Luka Đorđević
Digital Compositing Artist @ Crater Studio
Luka is a dedicated artist who ventured into the world of VFX shortly after completing school. He chose the challenging path of a Compositing Artist, working tirelessly at Crater Studio across a diverse range of projects. Luka possesses exceptional patience and a keen eye for detail, qualities that are invaluable in the world of visual effects. Beyond his technical skills, he excels in imparting knowledge and offering constructive feedback to both aspiring course participants and seasoned intershipners, helping them grasp the intricacies of this intricate craft.
COURSE INFORMATION
TUITION
950 EUR price category 1*
1425 EUR price category 2*
VAT included.
* View pricing & payment options
Start date
May , 2026
Check out the course calendar
COURSE DURATION
7 weeks (75 classes)
REQUIREMENTS
basic computer skills
Photoshop*
* or equivalent computer skills
ENROLLMENT
In the classroom
Students works
NIkola Canić - 2017
Zlatko Milojicic - 2017
Tamara Dinic -2016
Zoran Jovanovic - 2016
Andrija Tomašević -2014
Nikola Novaković - 2015
Živan Petričević - 2016
Related news
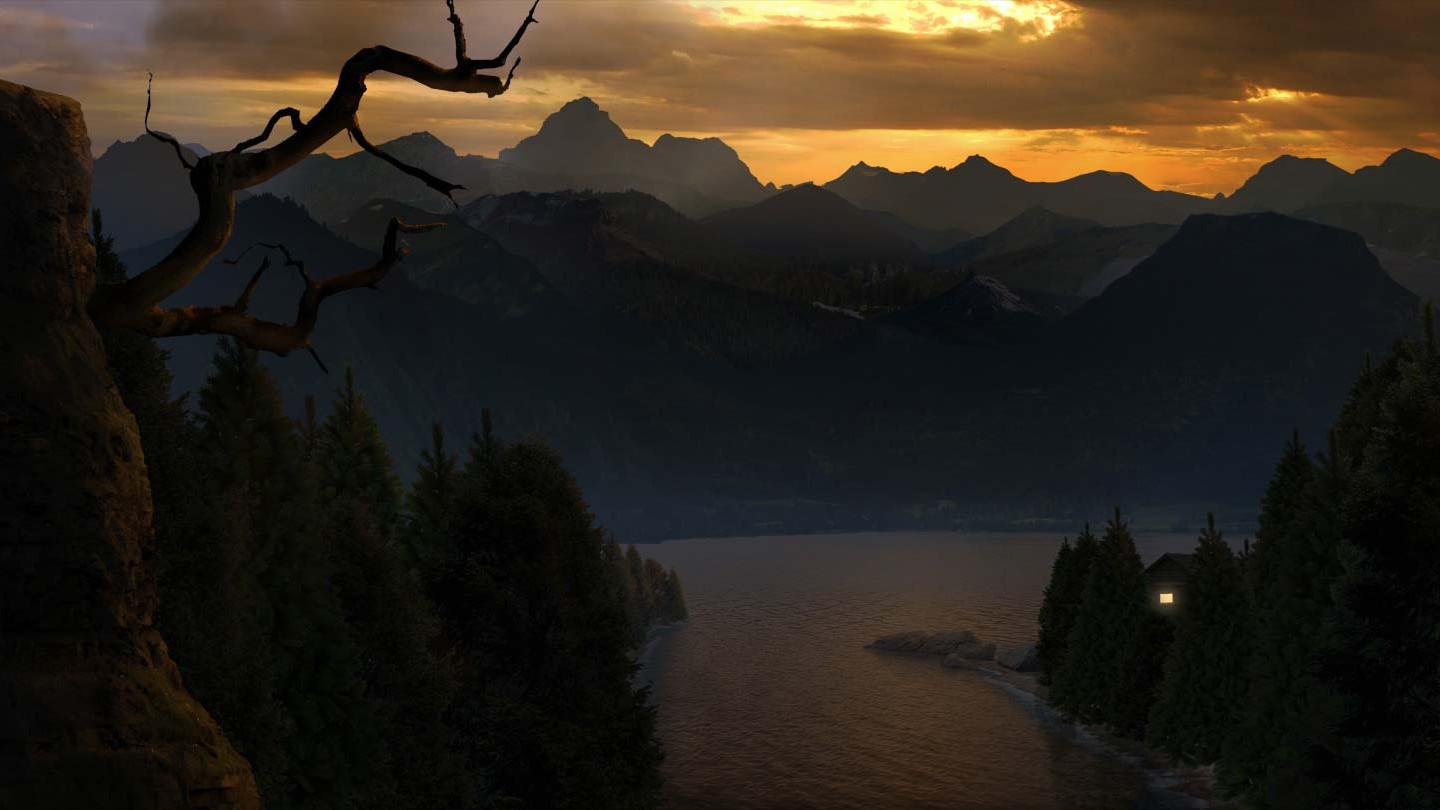
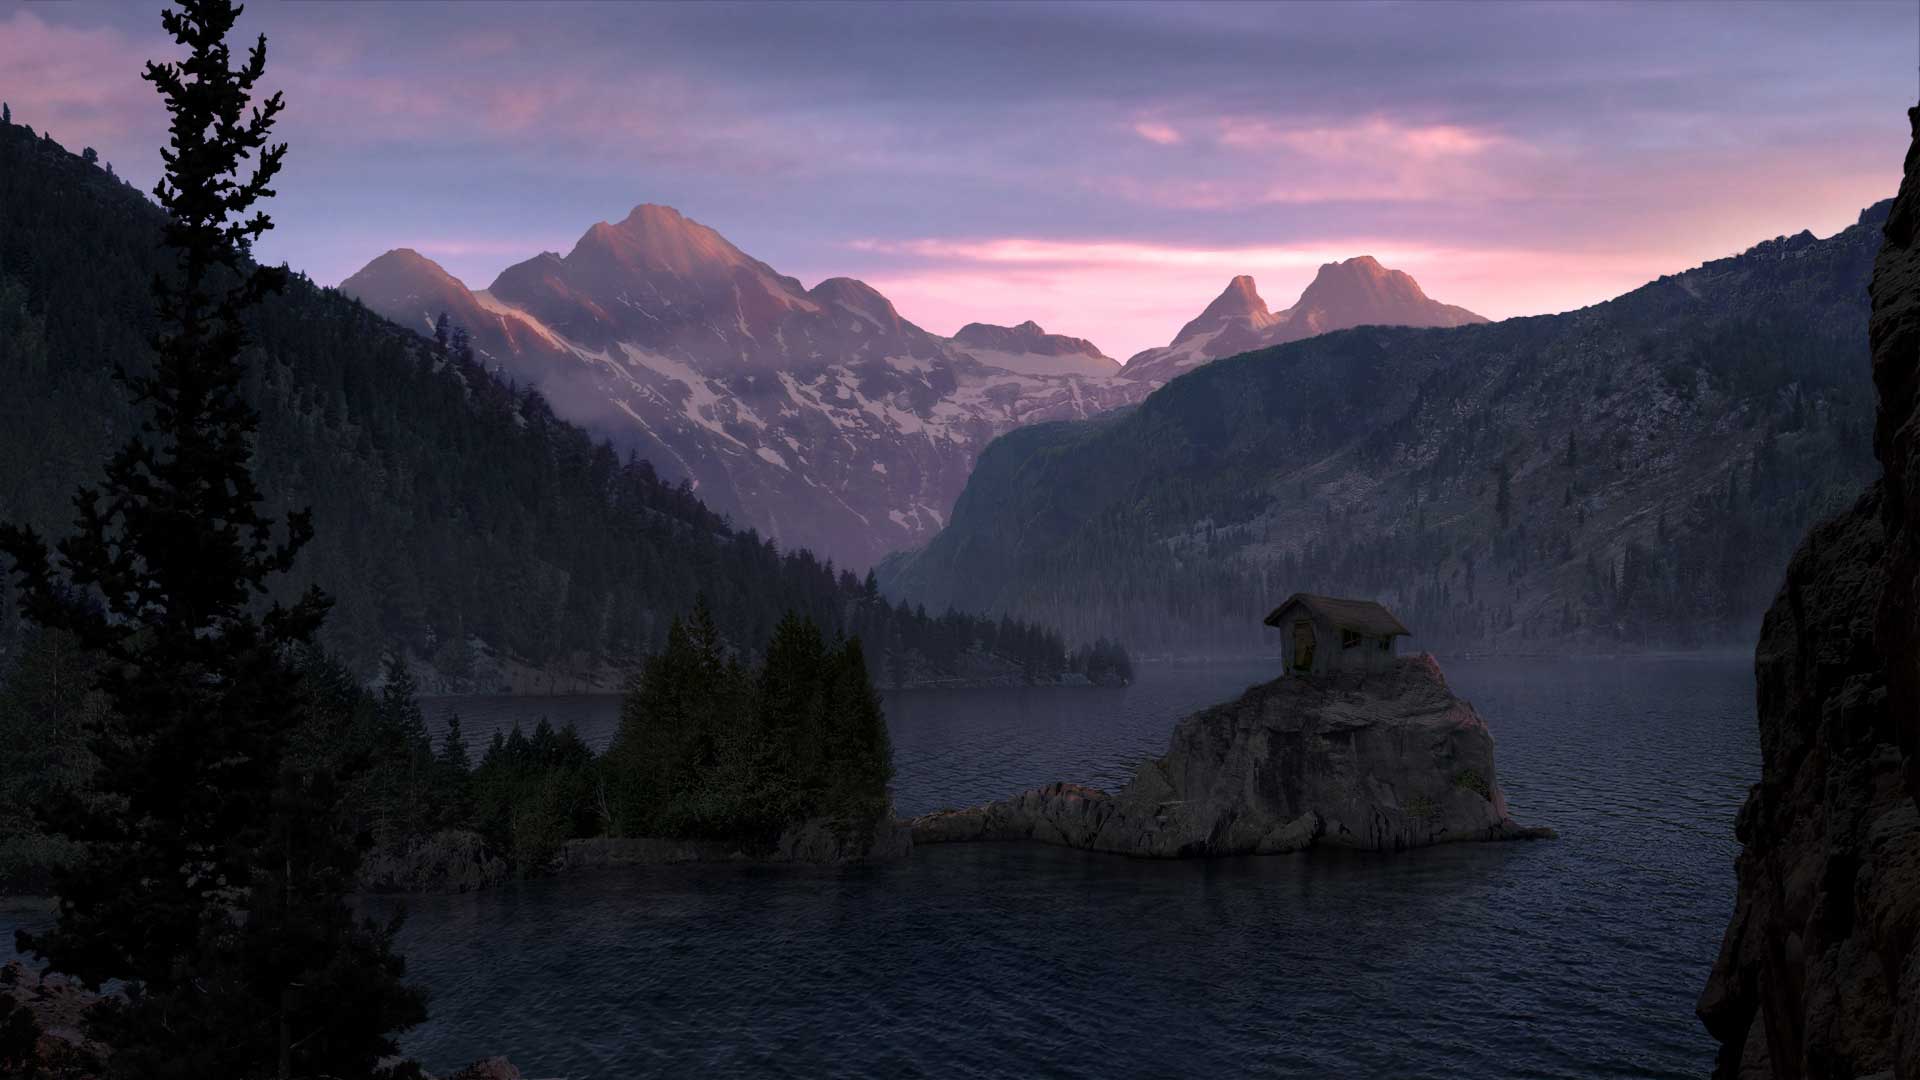
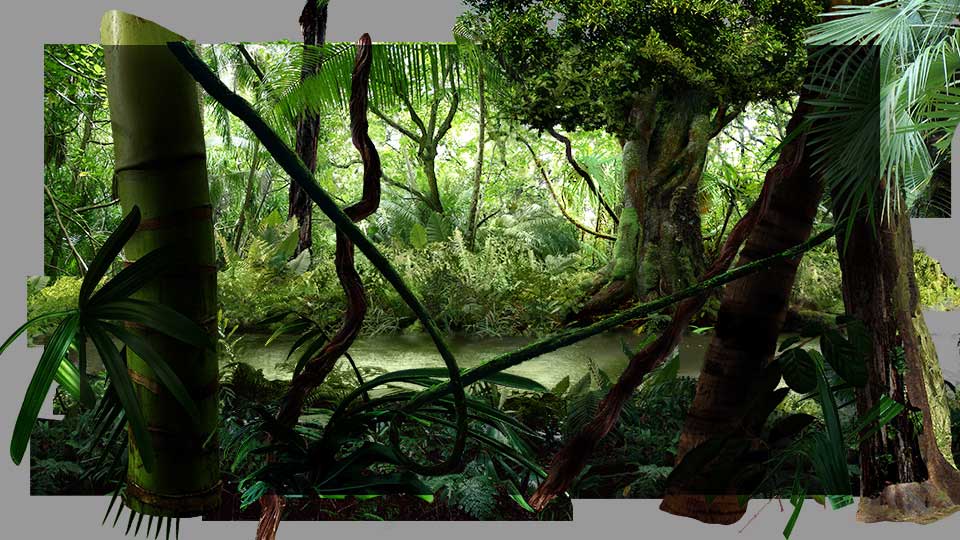
Matte Painting and Environment Design
Matte Painting and Environment
Design - Basic
One-of-a-kind course on creating stunning environments for film and video games.
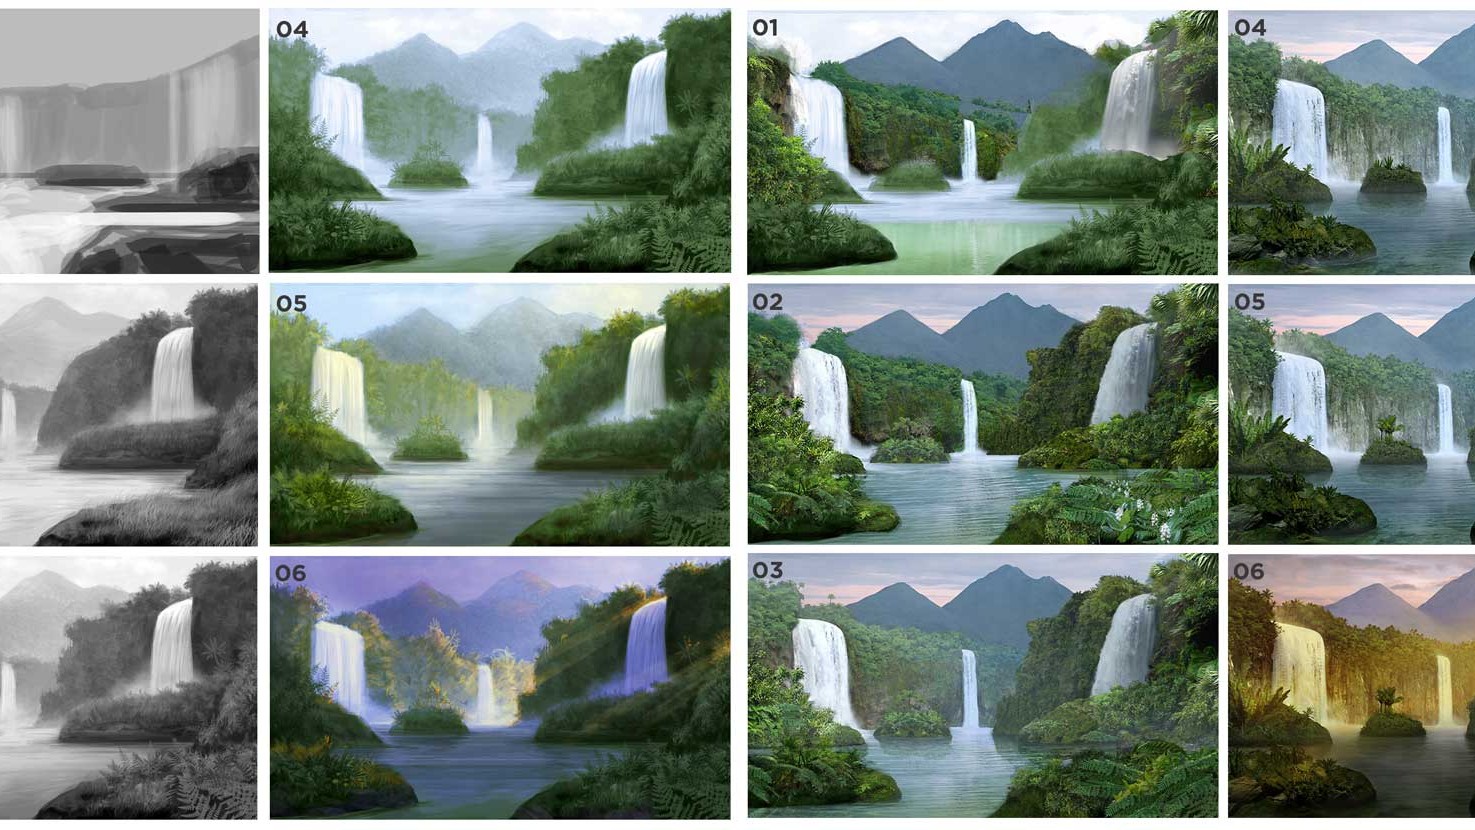
The course is a combination of matte painting basics mixed with elements of concept art and environment design.
In addition to historical overview and theoretical support, the course focuses on practical and effective digital imaging and photo-editing techniques, both in preparation (design), and in the realization of the matte painting project (tasks) themselves.
Also, a key and more extensive part of the course is based on themed project tasks, which through appropriate procedures and techniques, teach the students how to overcome the various challenges and requirements of matte painting. The techniques learned in this course are the same as the ones learned in an advanced Photoshop course, making the knowledge and skills acquired during the lessons, universally applicable in any field of digital art.
INTRODUCTION
• History of Matte Painting; analog vs digital
• Matte painting today – recent technology in use
• Matte painting as a part of VFX industry
• Types of Matte painting shots; production workflow, pipeline, demands (creative and technical)
• Intro to environment design/ concept art; Correlation between matte painting and concept art/ design, pre and post production.
PREPARATION
• Projects organization, conventions and rules
• Using a pen tablet in Photoshop
• Basic drawing and painting techniques for environment design processing
INTRO TO PERSPECTIVE
• Types of perspective
• Using one point perspective system in natural environment creation process
• Aerial perspective and value; Using values in establishing space and volumes (value blocking)
THUMBNAILS SKETCHING
• Tools and techniques of digital sketching
• Adjusting, management and brush customizations
• Using linear and aerial perspective elements in creating sketches
• Basic design rules
• Brush economy, stylization and simplification
• Speed paint techniques and tools
• Photo study techniques
COMPOSITION
• Basic rules and elements of visual composition
• Composition as an instrument of visual narrative and environment design
• Practical use of composition techniques in creating sketches
INTRO TO MATTE PAINTING – PHOTO EDITING (project 01)
• Digital photography – cinematography and matte paint – conventions, terms, attributes
• Photo referencing – research and management ; aesthetic and technical aspects
• Basic photo editing tools; photo retouching, photo adjusting
• Attributes of convincing photo composite (I) – light, color, atmosphere; comparative analysis
• Day to night conversion
PHOTOBASHING (project 02)
• Photo manipulation and extraction techniques and tools
• Working with smart objects and masks
• Non-destructive photo editing techniques
• Attributes of convincing photo composite (II)- image planes, local contrast , aerial perspective…
• Scale and proportions, structures and image plane attributes
LANDSCAPE MATTE PAINTING (project 03)
• Project preparation – analyzing assignment, gathering and organizing photo references, making mood-boards, hero reference break down
• Working with the plate; term, conditions and properties
• Creating paint over sketch
• Photo elements extraction and integration – block in composition
• Color correction; planes values reference matching; light articulation, final tuning
CITYSCAPE MATTE PAINTING (project 04)
• Types and usage of linear perspective
• Using linear perspective in architectural environment creation; rules, distortion, converging lines; creating geometric volumes
• Setting up a perspective grid
• Making concept sketches following the perspective grid
• Architectural photo elements – extraction and manipulation; transferring perspective from photo into orthographic view; perspective grid matching and aligning
• Photo elements block in following perspective layout
• Color correction, atmosphere, light …
• Details and final tuning
CITYSCAPE MATTE PAINTING II – night version (optional)
• Day to night conversion
• Artificial light types and properties
• Light integration into pre-made matte (matte from previous assignment)
• Final tuning
Upon completion of the course students will receive the Crater Training Center Certificate.
 Dejan Vukadinović
Lecturer @ Belgrade Polytechnic School
One of the first Crater Training Center instructors, Dejan is an expert in Concept Design, Digital Illustration and Matte Paint currently teaching Character and Concept Design at Belgrade Polytechnic School. A member of many award-winning projects, he has tried his hand in gaming, film, and advertising and participated in many competitions in the country and abroad. Graduated in Industrial Design from the Faculty of Applied Arts in Belgrade, he has been with Crater Training Center since 2012 teaching Matte Painting and Environment Design course.
COURSE INFORMATION
TUITION
1160 EUR price category 1*
1740 EUR price category 2*
VAT included.
* View pricing & payment options
Start date
October, 2023
Check out the course calendar
COURSE DURATION
5 weeks (60 classes)
REQUIREMENTS
basic computer skills
drawing skills
work with a graphics board
Photoshop*
* or equivalent computer skills
ENROLLMENT
In the classroom / Online
Related news
VFX in Houdini
VFX in Houdini
Master the magic of natural phenomena!
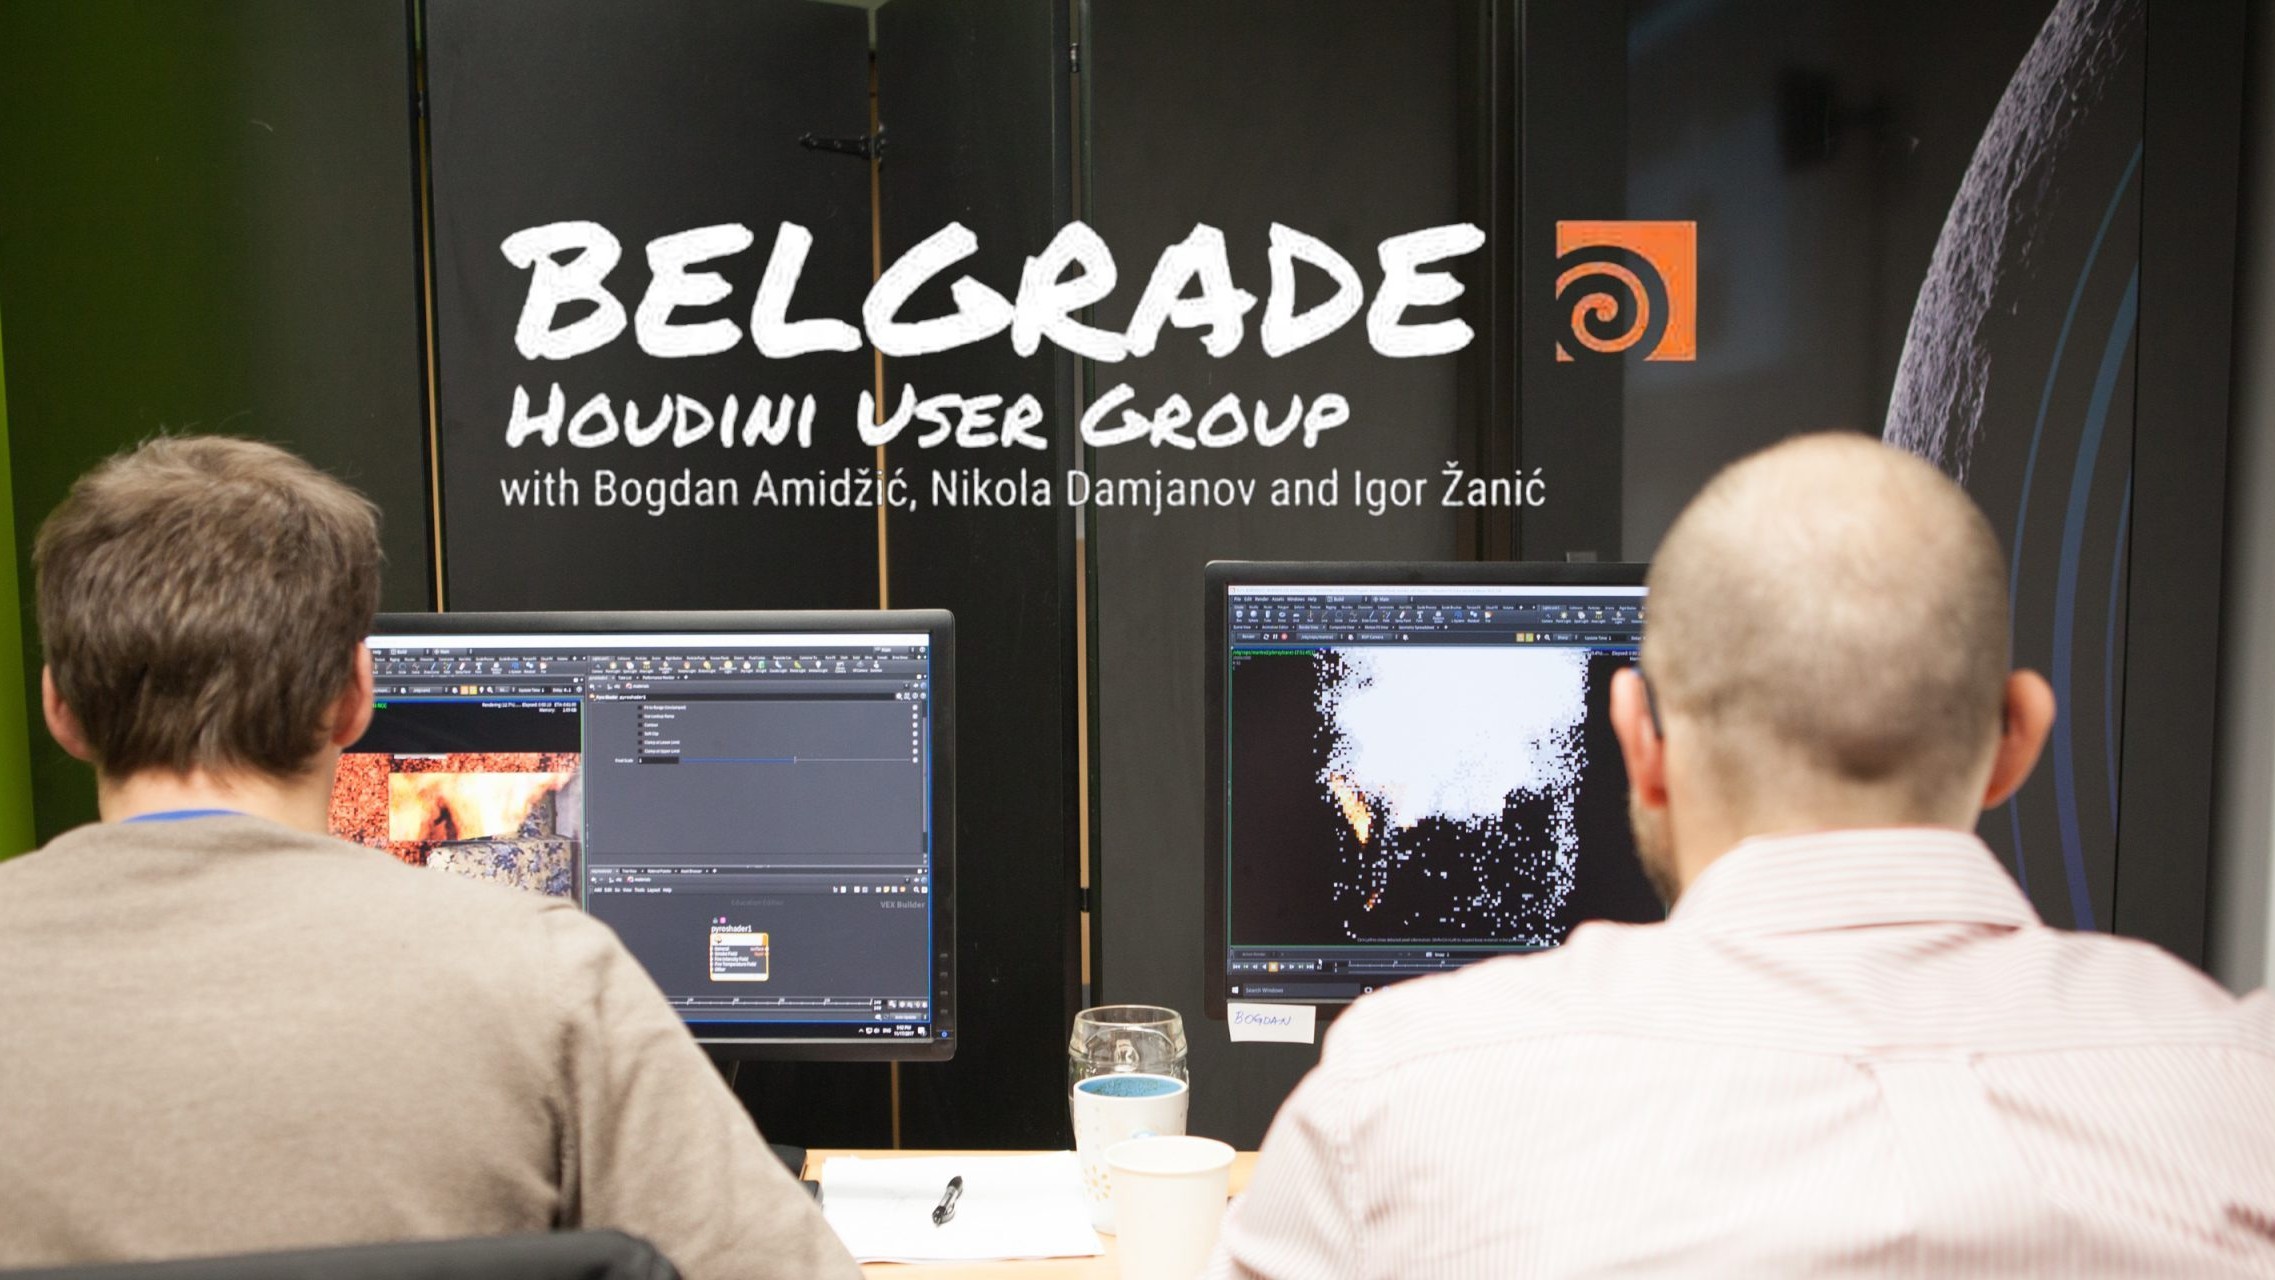
The safest way of approaching one of the industry’s most daunting software, VFX in Houdini offers a basic overview of the methodology and tools used to create top dynamic effects as it is done in a genuine professional production environment. Designed to prepare students to create a full-CG VFX shot for both film and gaming, it covers all typical CG tasks necessary to complete a standard VFX render, as well as a level in Unreal Engine. Through the development of the scene, the students learn how to navigate through the complexity of Houdini’s node-based workflow. The course culminates in a class-based project, allowing students to get a first taste of working within a professional creative team.
Week 1
• Introduction, reference study, – Houdini interface basics, simple shot setup. Becoming familiar with interface, importing objects, animating them, animating camera
• Simple shot layout and first render – Continuation of previous class. Setting up everything for first draft render.
Week 2
• SOP modeling – In this class students will use SOP operators to model architectural elements in non destructive manner, which is also applicable in procedural generation for game development.
• SOP modeling II – Creating organic environment elements. Using curves, point VOP nodes and ramps to control shapes.
Week 3
• modeling III – Packaging asset as Houdini digital assets. Scattering assets in the scene, controlling distribution, orientation via attributes.
• SOP modeling IV – Making our environment richer, packing everything in smart and memory efficient manner.
Week 4
• SOP fx I – Doing simple effects like laser beams, hitting spaceships and environments. Lightning effects, from interaction of ships and environment.
• SOP fx II – In this class we will set up portal effect using simple VOP operators. Goal of this class is to show you how math can be used to design memory efficient effects.
Week 5
• Particles I – Creating particle sparks, snow, rain. Rendering particles as points, volumes, sprites.
• Particles II – Using particles to create swarms of spaceships. Adding particles to our portal.
Week 6
• Rigid bodies I – Rigid body simulations for debris hits, collapsing walls.
• Rigid bodies II – Rigid body simulations for spaceships destruction, combining animation with rigid bodies.
Week 7
• Pyro I – Off the shelf pyro, that will be used for ship explosions. Creating several variations and caching them. Instancing explosions.
• Pyro II – Adding pyro effects to our portal, integrating particles and pyro.
Week 8
• FLIP simulations I – Using flip simulations to create waterfall for our shot. Caching our first flip. Whitewater setup.
• FLIP simulations II – Waterfall refining. Whitewater refining, caching. Render setup.
Week 9
• Rigid bodies III – Bridge collapse, use of constraints.
• Rigid bodies IV – Bridge collapse refining, integrating with pyro, particles.
Week 10
• Ocean spectrum – Adding water elements to the scene. Use of ocean spectrum.
• FLIP Flat Tank simulation – Water – collapsing bridge interaction. Using FLIP Flat Tank to create collapsing bridge interaction with water.
Week 11
• Materials and lights – Setting up procedural material assignments. Use of 3D textures. Separating different elements as render layers.
• Render review and compositing.
Week 12
• Export to Unreal as static geometry. Use of Houdini Engine inside Unreal.
• Export of FX to Unreal via SideFX Labs tools.
Upon completion of the course students will receive the Crater Training Center Certificate.
 Bogdan Amidžić
Digital Effects Supervisor @ Crater Studio
A rare breed of artist and programmer, Bogdan is a VFX Supervisor at Crater Studio with more than 12 years of experience in VFX production of feature films, commercials, and music videos. Always driven by the thrill of new challenges, he combines his love for scripting (MEL, Python, VEX) and illustration/ concept art to provide creative solutions and overcome insurmountable obstacles. Working many years as compositing artist, in the past few years, he has mostly been involved with 3D VFX in Maya and Houdini. Eager to share his vast knowledge with friends and colleagues, Bogdan teaches Digital Compositing and VFX in Houdini courses at Crater Training Center.
COURSE INFORMATION
TUITION
1380 EUR price category 1*
2070 EUR price category 2*
VAT included.
* View pricing & payment options
Start date
November 25th, 2025
Check out the course calendar
COURSE DURATION
13 weeks (120 classes)
REQUIREMENTS
basic computer skills
Photoshop*
3D Essentials*
* or equivalent computer skills
ENROLLMENT
In the classroom
Students works
Students reel - 2023
Related news
Rigging
Rigging - Maya
Learn how to prepare your model for animation!
This course is primarily intended for those who have no experience with rigging techniques, but also for professional riggers and for 3D artists who want to expand their skills and knowledge of character rigging.
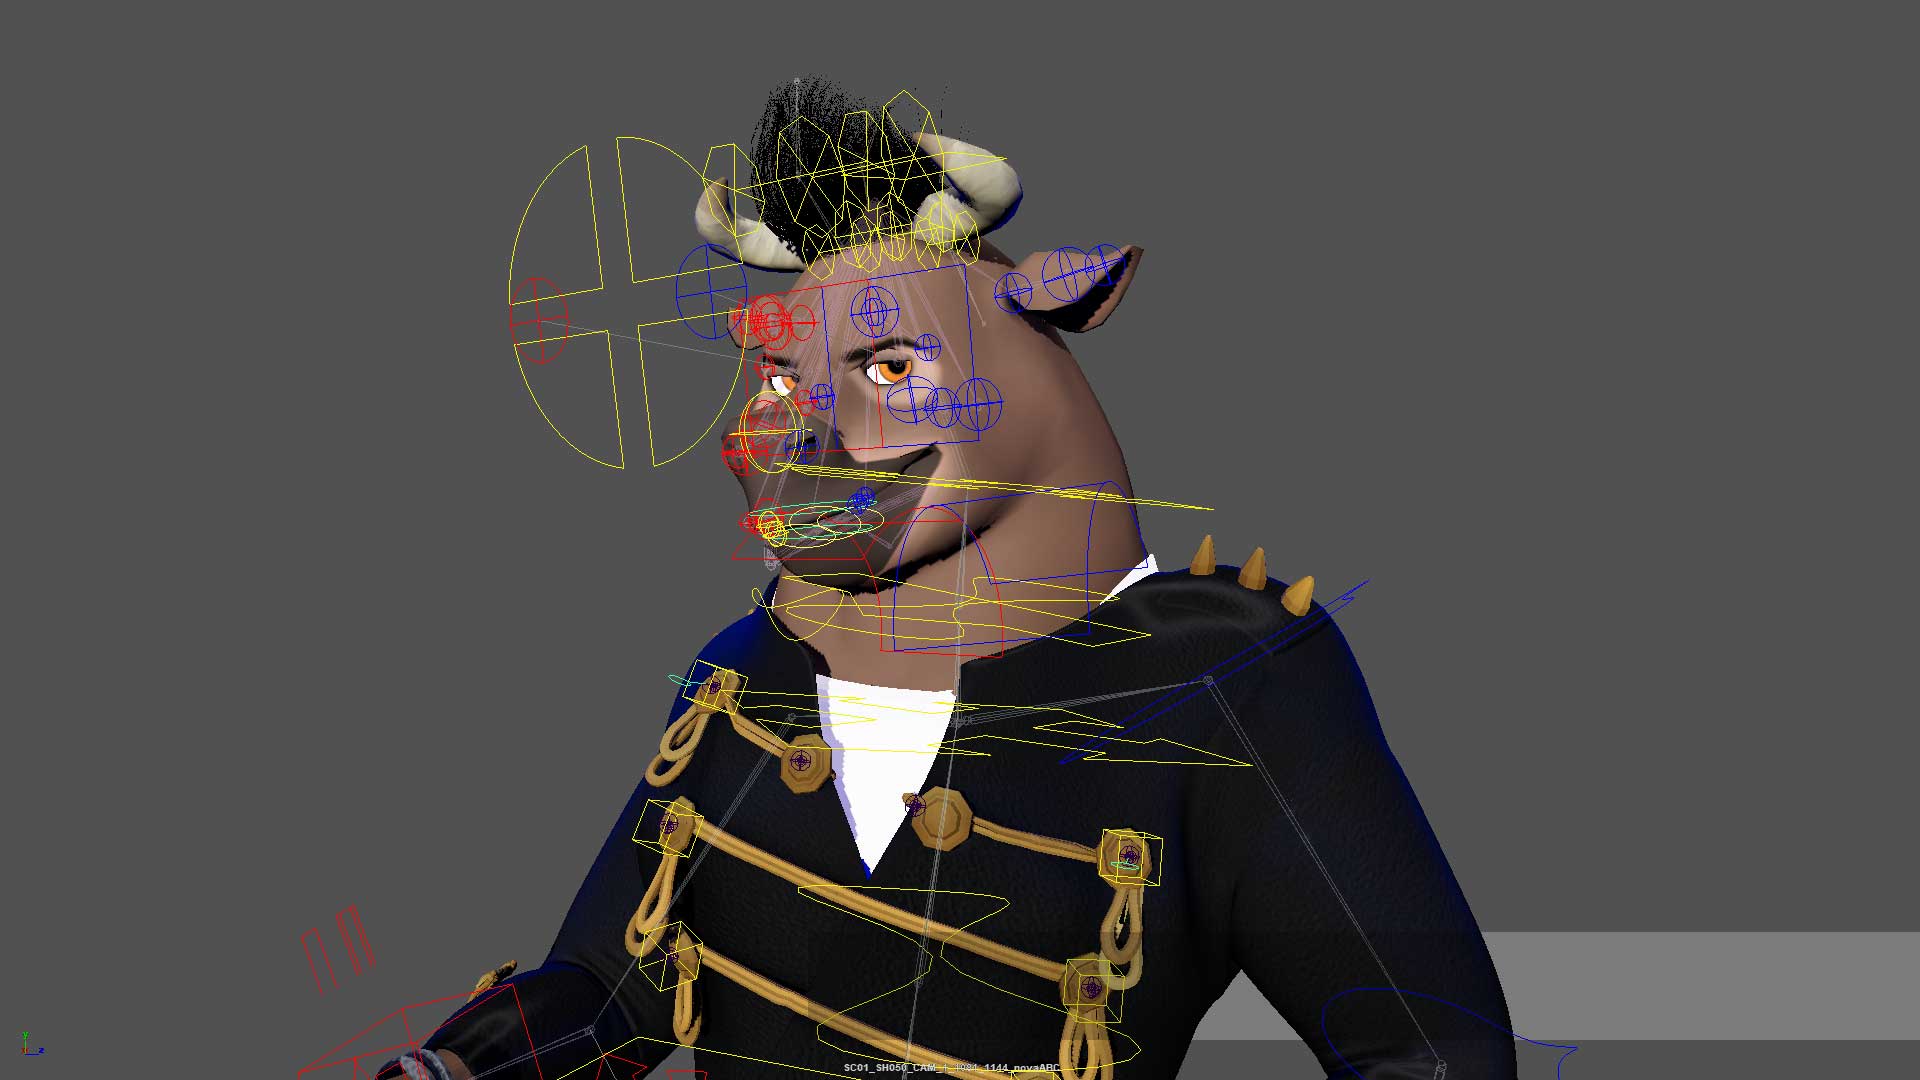
In this course, we will go through the entire process of rig creation, animation construction for one character that involves constructing the spine, arms, fingers, legs, head and face. The course participants will be thoroughly acquainted with the concepts of construction, which include, among other things, the preparation of 3D models for rigging and advanced techniques such as:
● Different approaches to construction depending on different conditions such as animator affinities, studio and studio’s pipeline requirements, co-production, mocap, genuine animation, and various tasks that a “rigger” may face in practice.
● Special attention will be given to logic and mathematics behind the mechanics of 3D software, which will be explained in the simplest way possible for the sake of better understanding and handling of non-standard problems from project to project.
After completing the course, participants will:
● Have the knowledge to independently implement the learned techniques,
● Be able to improve the existing rigs on which they have worked on independently,
● Get all the scripts (MEL and Python) and tools they used during the course, for permanent use.
Theory of rigging and tools
• Theory of rigging
• Getting acquainted with the tools used for rigging
Skeleton menu
• Getting acquainted with the skeleton menu
Joint orientation, controls for animation
• Explaining the orientation of joints and making controls for animation
• Setting up joints and the correct orientation of joints on a character (”Tips and tricks” how to most efficiently set up the joints on a character)
• Finalizing settings of joints on a character, naming and mirroring joints
• Exercise for setting up joints
Rigging legs
• Reverse foot controls technique
• Questions and exercises
• Advanced techniques for rigging legs (IK-FK system, IK stretch, pole vectors)
• Questions and exercises
Rigging spines and heads
• Rigging spines and heads (IK stretch and FK system)
• Questions and exercises
Rigging arms
• Rigging arms (IK stretch and FK system, forearm twist)
• Questions and exercises
Rigging fingers
• Rigging fingers, making predefined poses and enabling the manual movement of each individual finger
• Questions and exercises
Preparing a rig for animators
• Preparing a rig for animators and connecting all rig systems (cleaning excess attributes on controls, color coding controls for easier visual selection, making an accurate hierarchy for the global scale of the entire rig)
• Questions and exercises
Theory of skinning
• Theory of skinning
• Getting acquainted with tools for skinning
• Preparing a model for skinning
• Skinning techniques (smooth and rigid)
Skinning a rigged character
• Skinning a rigged character (part one)
• Questions and exercises
• Skinning a rigged character (part two)
• Questions and exercises
Advanced techniques for skinning
• Advanced techniques for skinning (techniques that give the effect of real bodily deformities)
• Questions and exercises
Rigging faces
• Face rigging (theory section)
Blend shapes
• Getting acquainted with blend shapes
• Blend shape techniques for rigging faces, making controls for animation of blend shapes
• Questions and exercises
Techniques for rigging faces
• Bones technique for rigging faces and making controls for animation
• Questions and exercises
• Cluster technique for rigging faces and making controls for animation
• Questions and exercises
Connecting face and body rigs
• Connecting face and body rigs, making a low res model for fast feedback after animation
• Questions and exercises
Advanced techniques for rigging
• Advanced techniques for rigging (corrective shapes)
• Questions and exercises
Upon completion of the course students will receive the internationally recognized Adobe Certificate of Completion, as well as the Crater Training Center Certificate.
 Milicko Mijatovic
Lead Rigger @ Crater Studio
A CG superstar with the privilege of having worked with Emir Kusturica, Nikita Mihalkov, Netflix and many other big industry names, Miličko has been building his career in 3D animation for more than two decades. Starting as a 2D animator, he quickly moved into 3D and found his focal point in Rigging. He works at Crater Studio as a Lead Rigger, where he grows every day through work on numerous film and animation projects. He has collaborated with Mercedes, Coca-Cola, Heineken and numerous domestic studios. He has also worked in the gaming industry, where he is certainly worth mentioning for his work on Casino Gaming. At Crater Training Center, Miličko teaches Rigging.
COURSE INFORMATION
TUITION
780 EUR price category 1*
1170 EUR price category 2*
VAT included.
* View pricing & payment options
Start date
August, 18th 2025
Check out the course calendar
COURSE DURATION
4 weeks (40 classes)
REQUIREMENTS
basic computer skills
Photoshop*
3D/VFX Essentials *
* or equivalent computer skills
ENROLLMENT
In the classroom / Online
Students works
Marko Bošković - 2023
Dušan Šarić - 2023
Boris Kuleba - 2019
Digital Lighting, Shading and Rendering
Digital Lighting, Shading
and Rendering
Become a lighting artist!
Our specialized lighting design course will teach you the basic procedures and techniques that will help you present each object as realistically as possible.
You will get familiar with the common procedures when it comes to shading and lighting digital scenes, applicable in any software. You will learn to transpose everyday life experiences into 3D. To be specific, you will get practical tips on how to use cameras, lights, and shaders to produce photorealistic results. After finishing this course, you will be able to comprehend any design project and understand the thought process behind lighting a digital scene. Such skills will be of the utmost importance for creating all kinds of photorealistic renderings in the future.
The software available on this course is Arnold Renderer, one of the standards in production when it comes to offline renderers.
During the run of this course, you will get to feel like a real Lighting Artist on an actual VFX production. You will learn to choose suitable materials, textures, and other elements to create a convincing visual story. You will also get familiar with software packages that will make your scenes look authentic. The knowledge you will get on the course is applicable in the VFX industry, but also video games, architecture, advertising, and other areas.
When it comes to digital visualizations, lighting defines the focus and atmosphere in any scene and highlights the dominant mood. For a digital Lighting Artist, understanding aesthetics is just as important as technical knowledge. Therefore, after finishing the course, you will be ready for further endeavors in the field of digital lighting, whether you are looking for a job as an artist in gaming, film, or any other industry.
Introduction and overview of the course program
• Getting to know each other, assessing individual levels of experience and a general overview of the course contents
Theoretical introduction to light, color and materials and a short look at Arnold renderer
• Basic theoretical introduction
• A short look at Arnold renderer
Arnold settings
• Render settings
Shaders (materials)
• Types of material, description of the parameters and their application
• aiStandardSurface and all its settings: diffused, reflective, refractive, semi-transparent and sss materials
• Other materials, Ray switch, Hair, Mix shader, displacement, Utility shader, Ambient occlusion, Shadow matte
• Procedural shading
(Afterwards students are assigned exercises to create all types of material including rock, glass, fabric and milk on models from production.)
Lighting in Arnold
• Types of light: distant, spot, area, point, skydome, mesh, photometric
• Parameters of light
• Filters for light: gobo, light blocker, barndoor, decay
(After this lecture students are assigned their first “real” exercise where they are given an object with textures that they must shade)
Stand-ins (Proxy objects)
• About stand-ins
(Students will create massive scenes: forest, armies, rows of lamp posts, grass fields or something else interesting to practice stand-ins)
Hair
• Methods of rendering hair
(After this lecture students will illuminate and materialize the hair or fur on a model)
Skin
• Methods of rendering skin
(After this lecture students will illuminate and materialize the skin on a model)
Volume
• Open VBD
• Volume shading – aiStandardVolume
Camera
• Camera, camera settings, DOF, Motion blur
(We will observe how Arnold works with Motion blur and DOF on animated models from production)
AOVs
• Build in AOVs
• Light path expressions
Pipeline
• Why pipeline is important for light
(About the Alembic file format and its practical application)
Upon completion of the course students will receive the internationally recognized Autodesk Certificate of Completion, as well as the Crater Training Center Certificate.

Dušan Ković
Texture Painter/Lookdev Artist @ Autodesk
One of 3D Artist Magazine 100 most influential and talented artists in the world
Award-winning CG artist hailing from Novi Sad, Serbia, Dušan is a jack of many trades and a master of photo-realism. Starting his career in gaming, his passion for photo-realistic computer graphics quickly led him into VFX and film where he found his focus in texture painting, shading, lighting and rendering. A graduate of Graphic Engineering and Design, he is currently working for Autodesk as a Texture Painter/ Lookdev Artist and Arnold/ Maya beta tester. At Crater Training Center, he teaches Digital Lighting, Shading and Rendering course.
COURSE INFORMATION
TUITION
780 EUR price category 1*
1170 EUR price category 2*
VAT included.
* View pricing & payment options
Start date
2026
Check out the course calendar
COURSE DURATION
3 weeks (40 classes)
REQUIREMENTS
basic computer skills
Photoshop*
3D/VFX Essentials*
* or equivalent computer skills
ENROLLMENT
Online
Organic Modeling #1: Character Sculpting
Organic Modeling #1Character Sculpting
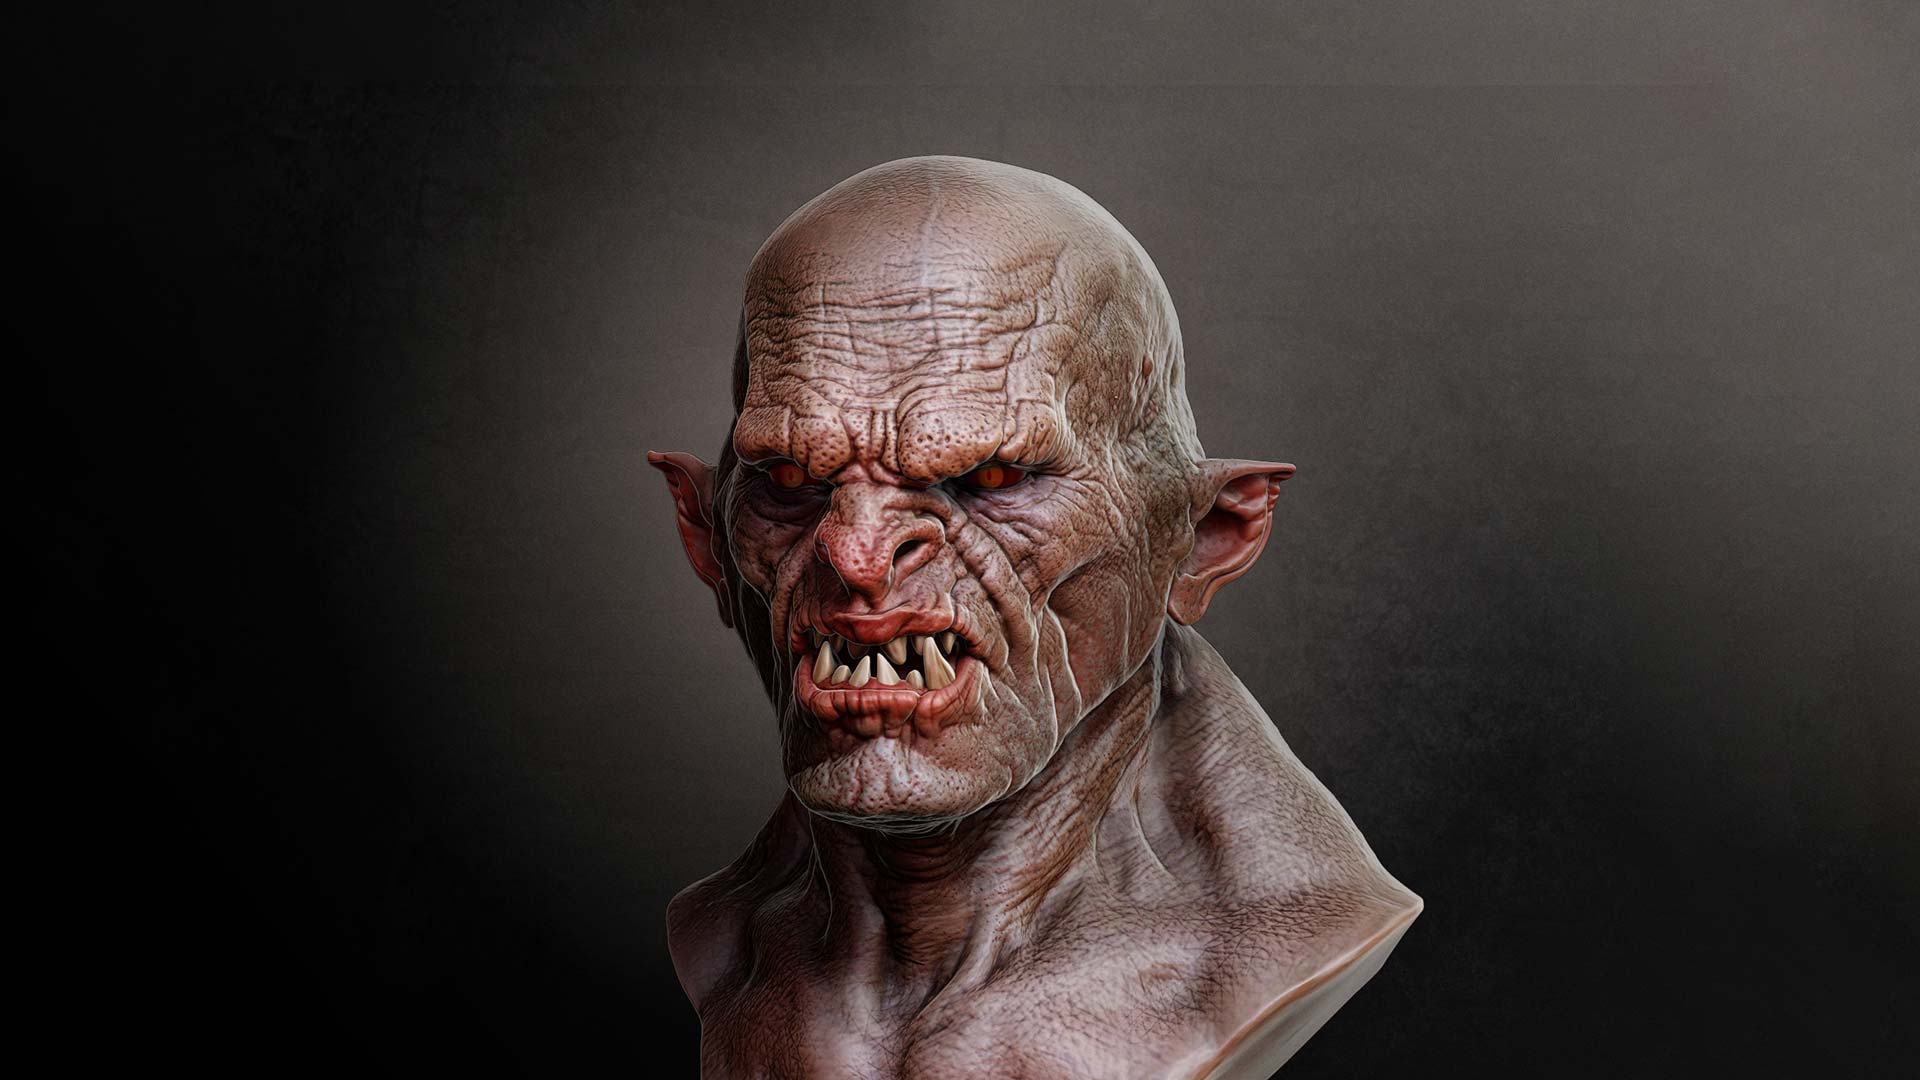
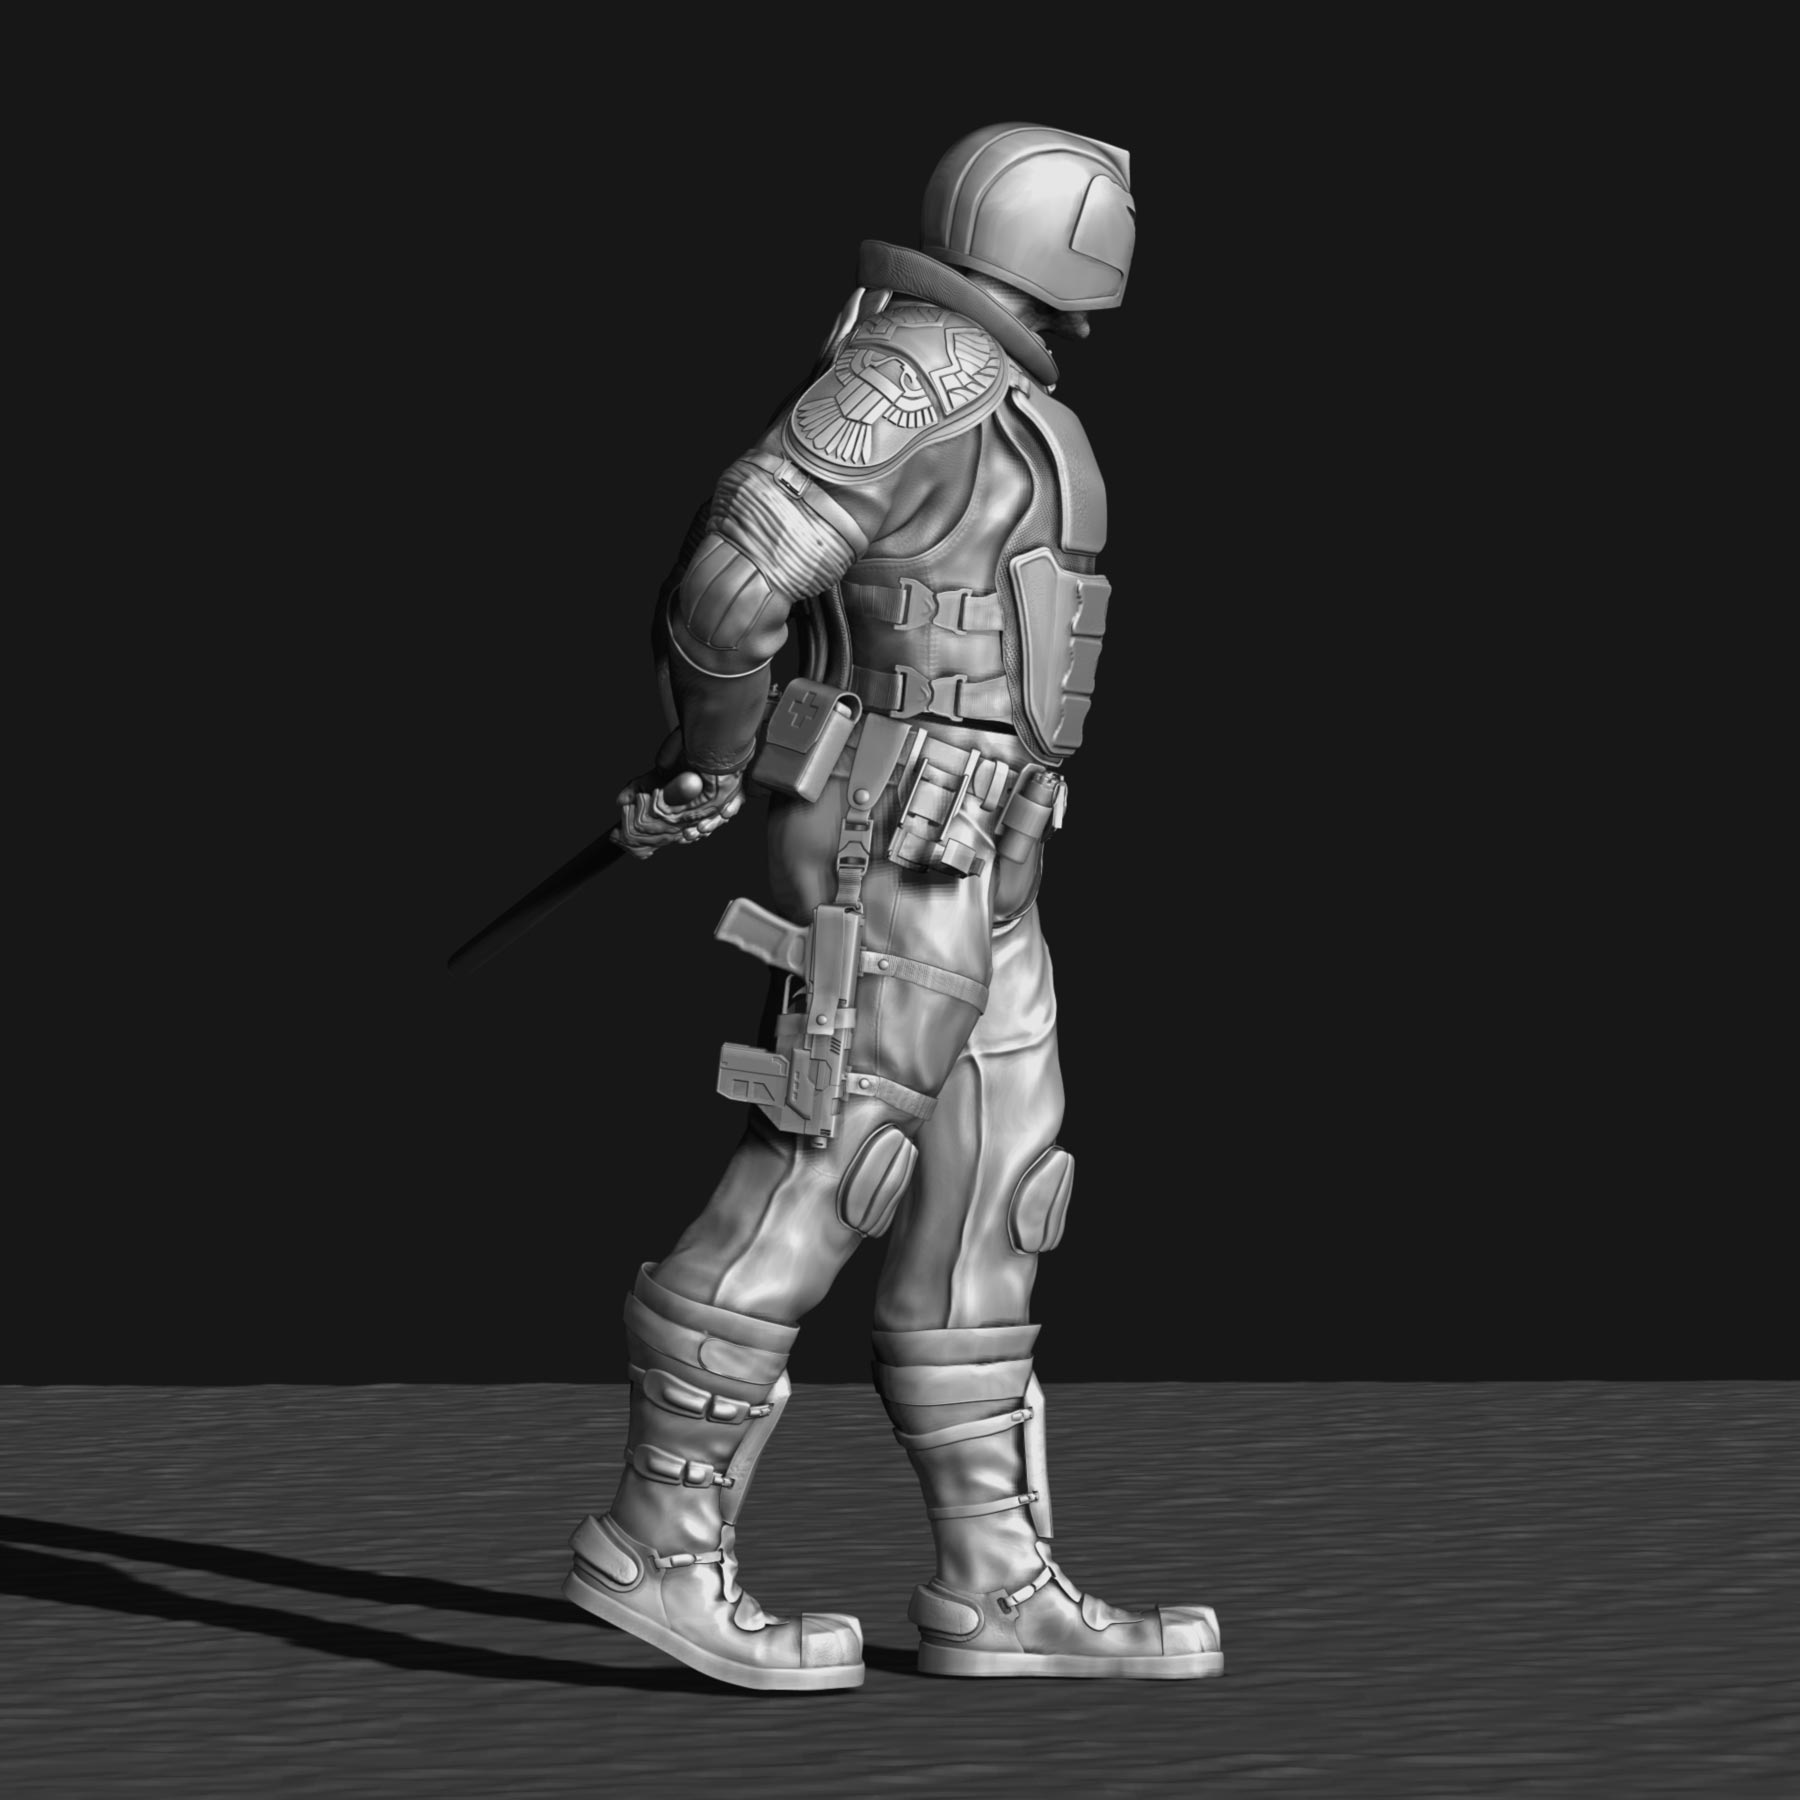
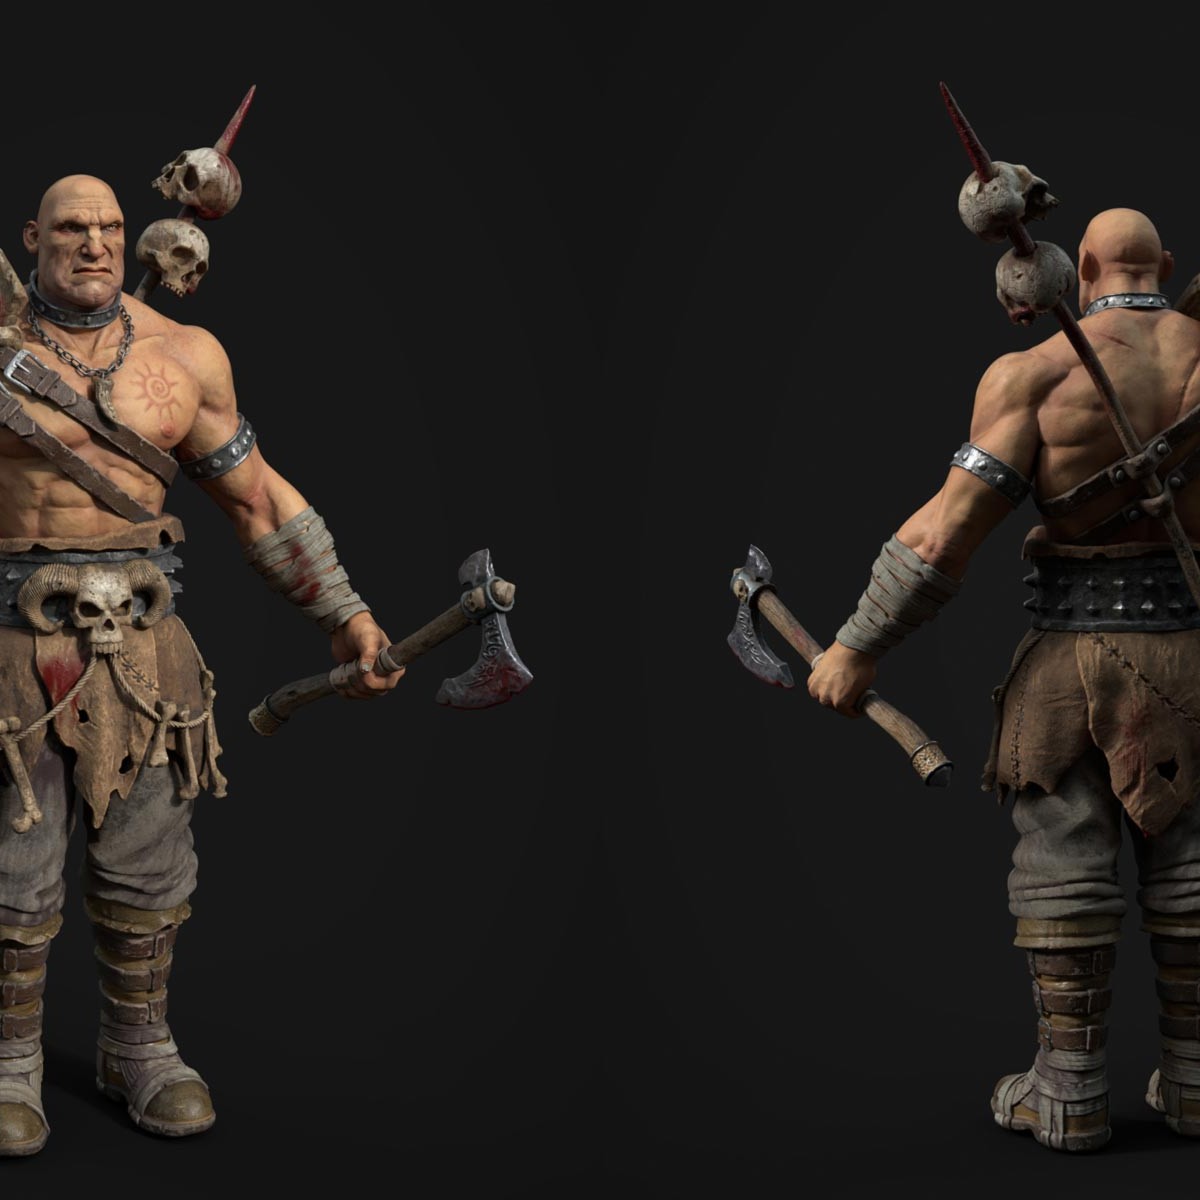
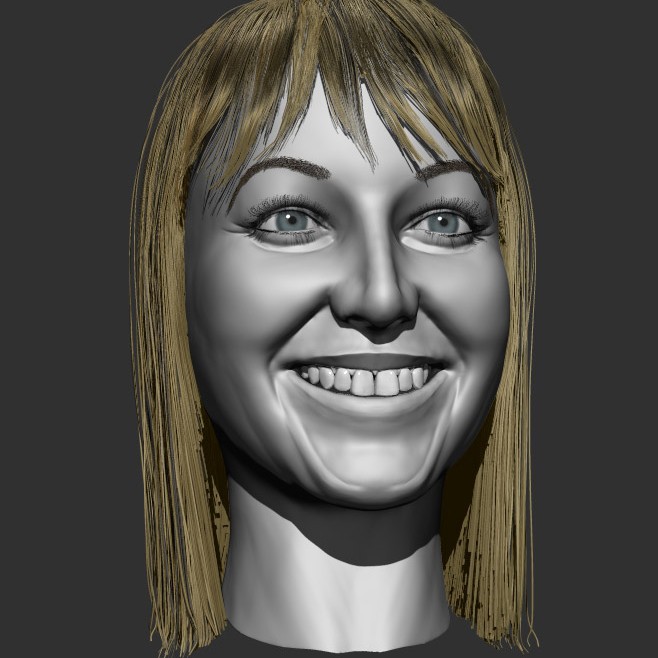
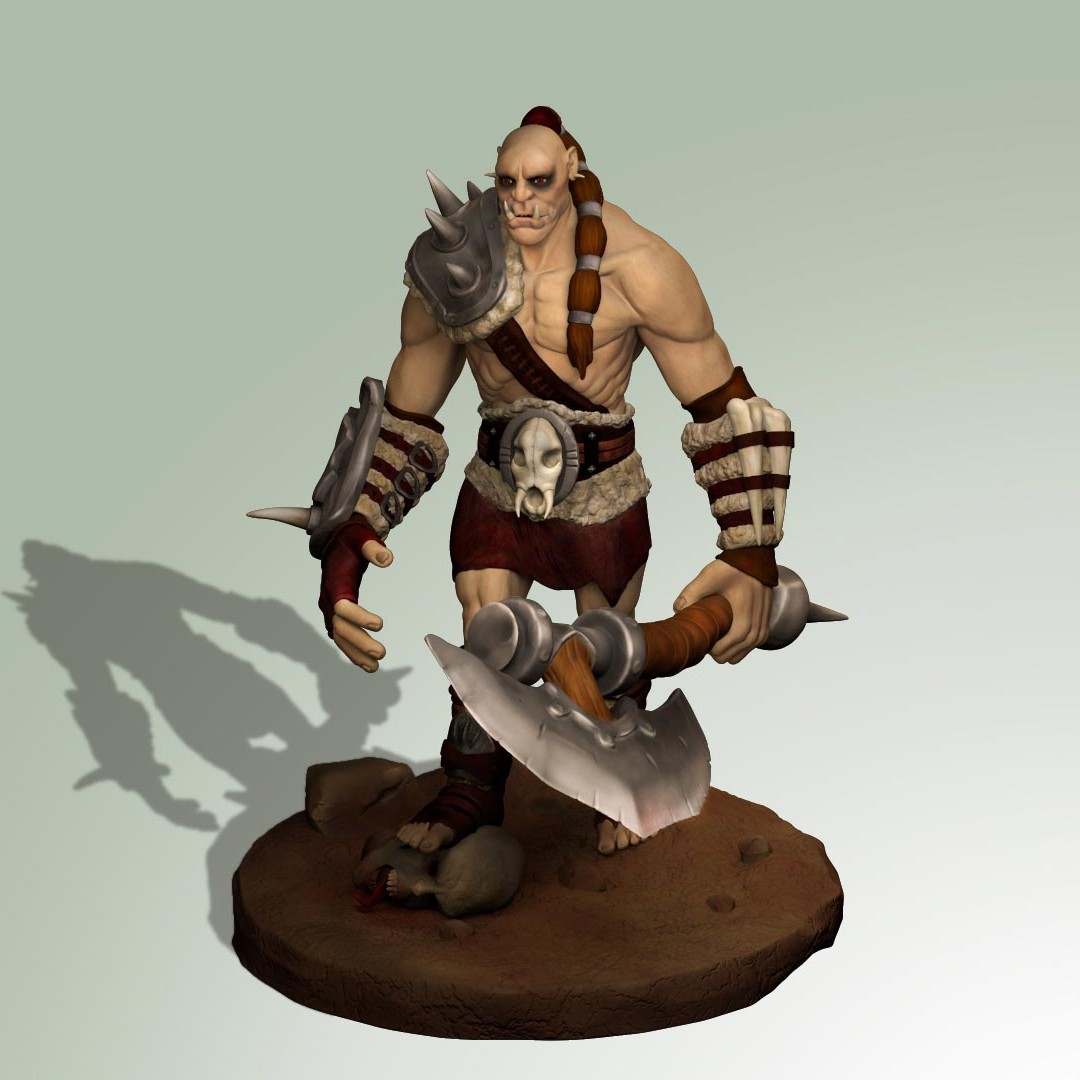
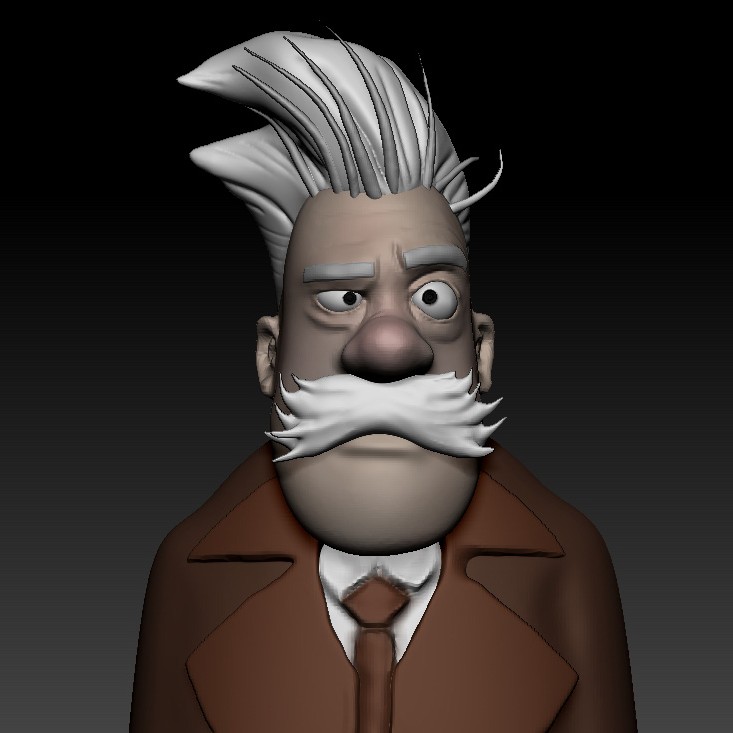
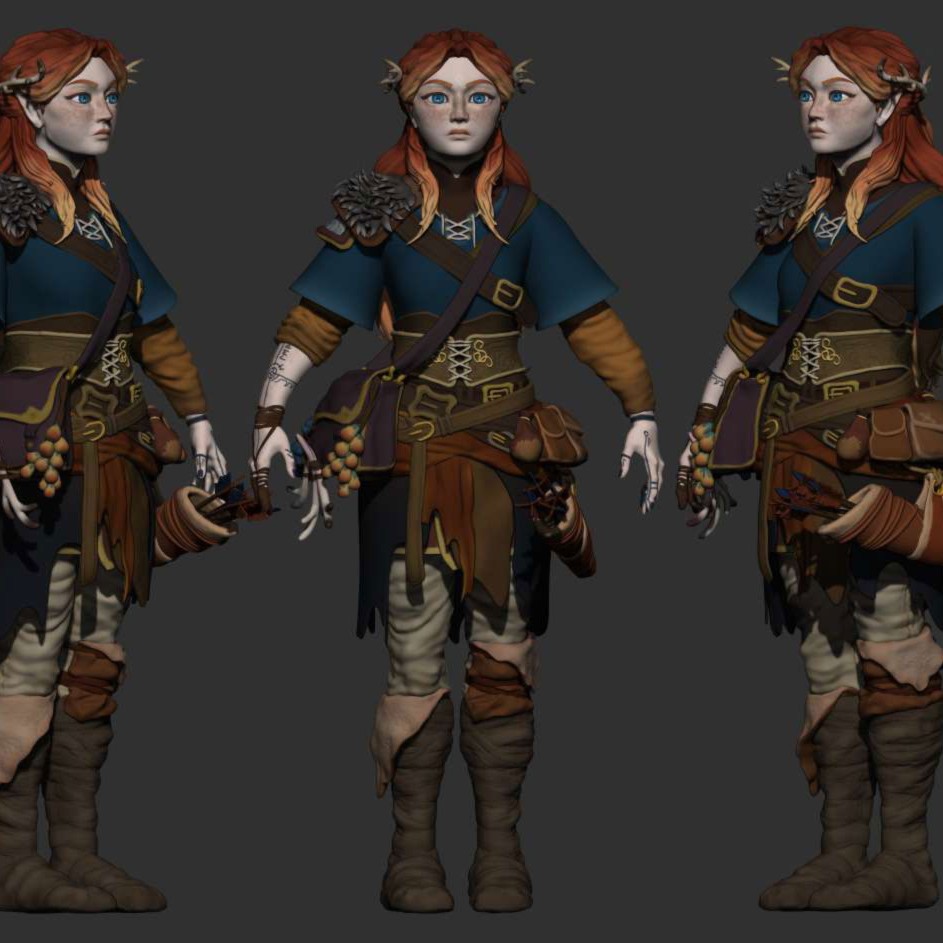
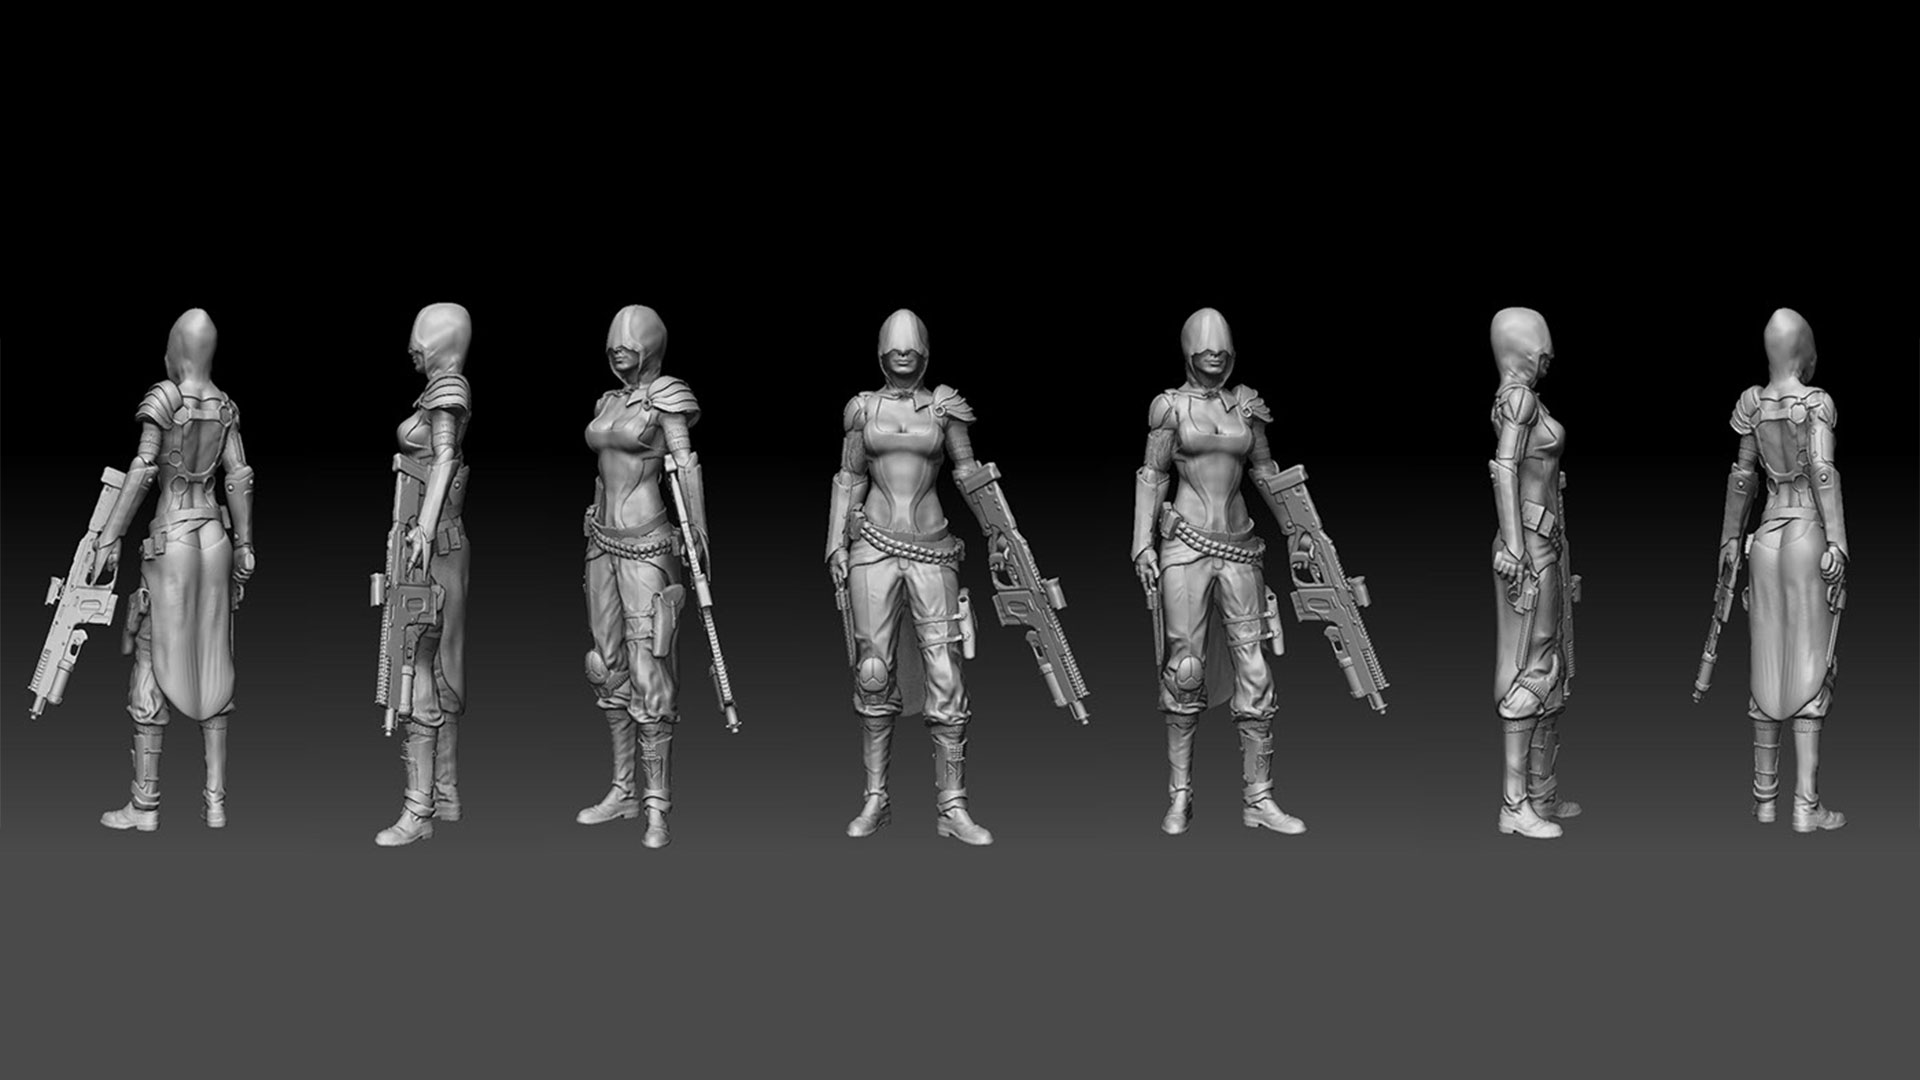
Master the basics of digital sculpting in one of the most popular software in the creative industry – ZBrush.
This course is ideal for those who already wield the skills of 3D modeling and would love to present their sculpts in a digital environment. Students will master the tools, techniques, and methods essential for creating memorable and unique computer-generated characters and assets for video games and film.
ZBrush stands as an industry standard when it comes to digital modeling and sculpting, and with this course, students will get an introduction to this software and its capabilities. In this course, students will gain a good understanding of elementary skills for organic modeling and poly painting. They will also build a solid foundation for further perfecting and developing their artistic style.
Click here to read more about organic modeling and why this profession became so popular in the film and video game business.
Basic course ZBrush Organic Modeling
• General introduction to the ZBrush software.
• History of the software and its origin.
• Applicability of the software in different industries.
• The place of the software in the film and gaming industry.
• Representative examples of its application from the mentioned industries.
• Getting acquainted with the graphic environment and adapting it.
• Introduction to the tools and main features of the software.
• Get to know the most commonly used tools in more detail.
• Introduction to tools that facilitate repetitive actions.
Application of learned tools on simple shapes
• Application of the Standard Brush tool.
• Application of the Clay Buildup Brush tool.
• Apply the Move Tool Brush.
• Application of the Damian Standard Brush tool.
• Application of the Clay Brush tool.
Surface masking
• Introduction to the tool for masking surfaces on the basic mesh.
• Application and typical situations when used.
• Graphical environment of tools and modes.
• Apply masks to get the shape, color or texture on a simple shape.
DynaMesh tool
• Introduction to one of the most important functions of the software for which he became famous.
• Introduction to the graphical environment of tools and applications on simple forms.
• Exercise for applying DynaMesh tools with learned Brush tools.
ZRemesher tool
• Introduction to the tool for automatic topology change.
• Familiarity with the graphical environment of the tool and when applied in accordance with the “ZRemesher Guides Brush”
Guides Brush
• Coordinated application of DynaMesh and ZRemesher tools
Plugin Decimation Master
• Introduction to the process of decimating a large number of polygons by triangulation without losing detail.
• Situations in which it is used and what are the additional functions.
• Use value of the decimating.
Upon completion of the course, students will receive the Crater Training Center Certificate.
 Milan Krstić
Milan Krstić is a 3D Artist from Belgrade with vast experience in the video games and film industry. He graduated at the Faculty of Fine Arts in Belgrade, and during his career he found himself in positions such as 3D Character Artist, 3D Environment Artist and 3D Concept Artist.
His portfolio consists of various interesting projects, including video games Scorn and Call of Duty: Modern Warfare Remastered, films Extinction and Knives Out 2 (Netflix), as well as TV shows The Arc and Krypton (extended DC universe).
Milan currently works at the Belgrade Polytechnic where he teaches Digital Modeling and Character Design.
COURSE INFORMATION
TUITION
940 EUR price category 1*
1410 EUR price category 2*
VAT included.
* View pricing & payment options
Start date
April 26th, 2026
Check out the course calendar
COURSE DURATION
7 weeks (80 classes)
REQUIREMENTS
basic computer skills
Photoshop*
* or equivalent computer skills
ENROLLMENT
In the classroom / Online
Related news
3D Essentials
3D Essentials
Modeling, Texturing & Rendering
3D Essentials – Start your journey through 3D graphics today!
Our bestselling entry-level course, 3D Essentials, is the perfect introduction to the vast and dynamic realm of computer graphics and all the opportunities it offers.
Whether you’re a complete beginner or an artist looking to expand your skill set, this course is designed with you in mind. You’ll not only learn 3D modeling in Autodesk Maya, but also dive into texturing with Adobe Substance 3D Painter, along with the fundamentals of lighting and rendering using Autodesk Arnold.
During the course, you’ll learn how to:
- Understand model topology and edge flow
- Model and optimize 3D objects in Maya
- Prepare models for texturing (UV mapping, baking, exporting)
- Create realistic textures in Substance Painter
- Build materials based on your textures
- Light and render your models in a scene
By the end of the course, you’ll be able to independently create complete 3D models, understand professional workflows, and take confident steps toward a career in the creative industry.
What’s more, 3D Essentials can be seamlessly combined with the majority of our specialized courses in VFX & Game Art, making it a versatile option for those eager to continue their learning journey.
Getting to know the industry
• History of the VFX and Gaming industry.
• Current affairs and trends in the VFX and Gaming industry.
• The future of computer graphics.
Getting to know the Autodesk Maya
• History of the Maya software.
• Industry fields in which it is used and why.
• Basic concepts of working in Maya.
Maya interface I
• Basic components of the interface.
• Navigating the Maya interface.
• Use of masks for selection.
• Transform tools.
• Snap tools.
Maya interface II
• Editors in Maya (Outliner, Attribute Editor).
• Parenting and hierarchy.
• Duplicate command.
Basics of poly modeling I
• Approaching the problem of modeling.
• Getting acquainted with polygon geometry.
• Poly components.
• Basic tools for poly modeling (Create Polygon Tool, Merge Vertices).
Basics of poly modeling II
• Advanced tools for poly modeling.
• Understanding the term good geometry.
Basics of poly modeling III
• Techniques for model optimization.
• Testing technical defects of a model.
• Applying deformers in modeling.
Basics of poly modeling IV
• Applying advance techniques in modeling.
Custom user interface
• Advantages of adjusting a custom UI.
• Methods of increasing comfort and speed of work.
• Creating a shelf.
• Creating a marking menu.
• Creating custom hotkeys.
UV mapping I
• Theory of UVing, purpose and examples of good and bad UVs.
• Why having a good UV is essential for further production.
• Difference between VFX asset and game asset (UDIM vs game vs environment).
• Demonstration of the UV toolkit inside Maya.
• Other applications for UVing.
UV mapping II
• Demonstration of creating UVs for a VFX asset (UDIM).
• Demonstration of creating UVs for a game asset (as well as UV environment kits).
Texturing in Adobe Substance 3D Painter I – Introduction to Adobe Substance 3D Painter and PBR
• For what it is used and why.
• Introduction to the interface and its tools.
• What is PBR?
• PBR components.
Texturing in Adobe Substance 3D Painter II – Basics of Adobe Substance 3D Painter I
• Creating materials, creating masks.
Texturing in Adobe Substance 3D Painter III – Basics of Adobe Substance 3D Painter II
• Application of other tools (Brushes, Projections, Text, Anchor Point…).
Texturing in Adobe Substance 3D Painter IV – UDIM
• What is UDIM?
• UDIM Workflow.
• Industry examples.
• A practical example of UDIM.
Texturing in Adobe Substance 3D Painter V – Work in Production
• Preparation for production.
• Tips and Tricks.
• Common mistakes.
VFX and Game production (VFX and Game pipeline)
• Project management.
• Work ethic.
• Approaching work with the goal of achieving the best possible results.
• Interpersonal relations in the workplace.
• Basics of Arnold, Digital Lights, and Materials
• Creation of basic Basic Materials – Wood, Metal
• Creation of basic Basic Materials and Variations – Glass
• Exporting Textures from Substance Painter and Lookdev in Arnold
• Integration of 3D models into the Scene, Adjusting, and Rendering
Upon completion of the course, students will receive the internationally recognized Autodesk Certificate of Completion, as well as the Crater Training Center Certificate.
 Branislav Pavlović
Lead Environment Artist @ LAV Games
Following his passion for video games and developing game assets, Branislav has left his mark in the AAA industry by working on ambitious projects such as the well-known Tom Clancy Ghost Recon Breakpoint franchise as a Weapon & Level Artist. Some of his most exciting projects have not yet seen the light of day but we hope we’ll get to see them soon enough.
Branislav currently works as a Lead Environment Artist at LAV Games, continuously developing new skills for creating environments in video games.
 Stefan Lukić
Technical Artist/Playstudios
He got into the gaming industry as a result of his love for games and movies. Stefan started his career as a Texturing and Modeling Artist at Bunker Studio, and he continued to develop his career at Ubisoft as an Environment/Level Artist and a Prop Artist. Currently he is working as a Technical Artist at Playstudios and Lecturer at SAE Institute Belgrade. Among the projects he participated in The Crew 2, Tom Clancy’s Rainbow Six Extraction, Tom Clancy’s Ghost Recon Frontline and Assassin’s Creed VR.

Dušan Ković
Texture Painter/Lookdev Artist @ Autodesk
One of 3D Artist Magazine 100 most influential and talented artists in the world
Award-winning CG artist hailing from Novi Sad, Serbia, Dušan is a jack of many trades and a master of photo-realism. Starting his career in gaming, his passion for photo-realistic computer graphics quickly led him into VFX and film where he found his focus in texture painting, shading, lighting and rendering. A graduate of Graphic Engineering and Design, he is currently working for Autodesk as a Texture Painter/ Lookdev Artist and Arnold/ Maya beta tester. At Crater Training Center, he teaches Digital Lighting, Shading and Rendering course.
 Dimitrije Dimoski
Assistant @ Crater Training Center
Dimitrije is a seasoned professional in the field of photo and video production, boasting extensive experience in understanding the intricate interplay between cameras and light. His fascination with the inner workings of major VFX productions spurred him to pursue a deeper understanding of the craft. Upon completing the 3D Essentials course at our school, Dimitrije swiftly transitioned into the role of an assistant instructor, where he imparts his knowledge and guides aspiring artists in their first steps within the VFX and Gaming industry.
COURSE INFORMATION
TUITION
1290 EUR price category 1*
1935 EUR price category 2*
VAT included.
* View pricing & payment options
Start date
February 18th, 2026
Check out the course calendar
COURSE DURATION
8 weeks (105 classes)
REQUIREMENTS
basic computer skills
Photoshop*
* or equivalent computer skills
ENROLLMENT
In the classroom / Online

